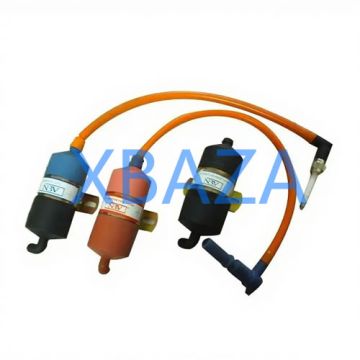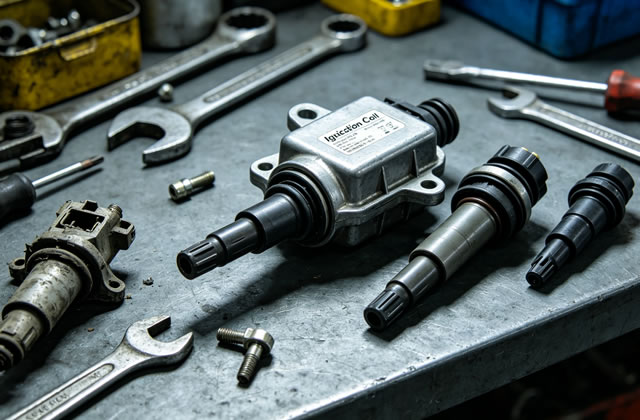
The ignition coil is a core component of MWM engine’s ignition system, responsible for converting low-voltage battery power into high-voltage electricity to ignite the air-fuel mixture in combustion chambers. For MWM industrial, marine, and generator engines, a well-maintained ignition coil ensures stable engine performance, fuel efficiency, and extended service life. This guide provides detailed maintenance, inspection, troubleshooting, and repair procedures for MWM ignition coils, suitable for daily upkeep and professional servicing.
1. Overview of MWM Ignition Coil Function
MWM ignition coils operate on the principle of electromagnetic induction. They receive 12V/24V low voltage from the engine control unit (ECU) and transform it into 20,000–40,000V high voltage, which is delivered to spark plugs via high-voltage cables. Key functions include:
- Generating stable high voltage for complete fuel combustion
- Supporting consistent engine startup and idle speed
- Reducing exhaust emissions and fuel consumption
- Protecting other ignition system components (ECU, spark plugs)
Failure or poor maintenance of MWM ignition coils directly leads to engine misfires, power loss, hard starting, and increased wear on engine parts.
2. Recommended Maintenance Schedule for MWM Ignition Coils
Adhere to the official MWM engine manual for scheduled maintenance. The standard interval for industrial and generator engines is as follows:
- Visual inspection: Every 500 operating hours
- Electrical performance test: Every 1,000 operating hours
- Cleaning and fastening check: Every 800 operating hours
- Full replacement: Every 8,000–10,000 operating hours (or as recommended by MWM)
- Immediate inspection: If engine misfires, rough idle, or startup failures occur
3. Step-by-Step Daily Maintenance Procedures
3.1 Safety Preparations
- Turn off the engine and disconnect the battery negative terminal
- Wait for the engine to cool down (ignition coils and surrounding parts reach high temperatures during operation)
- Prepare insulated tools, cleaning cloths, multimeter, and dielectric grease
- Keep the work area dry and free of flammable materials
3.2 Visual Inspection
- Check for cracks, burns, deformation, or oil contamination on the ignition coil housing
- Inspect high-voltage terminals and connectors for corrosion, rust, or looseness
- Verify that high-voltage cables are securely connected, without wear or breakage
- Confirm no oil or coolant leaks around the coil (leaks cause rapid coil failure)
3.3 Cleaning and Contamination Removal
- Wipe the coil surface with a lint-free cloth to remove dust and dirt
- Use a specialized electrical cleaner to dissolve oil and grease (do not use water or harsh solvents)
- Dry the coil completely before reinstallation
- Clean the mounting bracket and ensure no debris obstructs heat dissipation
3.4 Fastening and Connection Check
- Tighten mounting bolts to the torque specified in the MWM manual (typically 8–12 N·m)
- Check electrical connectors for secure locking; replace damaged clips
- Ensure no corrosion on pin terminals; use a small brush to clean light oxidation
3.5 Electrical Performance Testing
- Primary resistance: Measure between the two low-voltage terminals (normal range: 0.5–1.5 Ω)
- Secondary resistance: Measure between the high-voltage terminal and metal housing (normal range: 8,000–15,000 Ω)
- Compare readings with MWM official standards; replace the coil if values are out of range
4. Common Failures & Professional Repair Methods
4.1 Engine Misfires & Rough Idle
Causes: Internal winding damage, insulation breakdown, loose connections
Solutions: Test resistance, replace faulty coils, repair wiring
4.2 Hard Starting or No Startup
Causes: Complete coil failure, voltage leakage, corroded terminals
Solutions: Check spark output, clean terminals, replace coil
4.3 Coil Overheating & Burning Smell
Causes: Oil contamination, poor heat dissipation, short circuit
Solutions: Fix leaks, clean cooling surfaces, replace burned coils
4.4 Increased Fuel Consumption & Exhaust Smoke
Causes: Weak high-voltage output, incomplete combustion
Solutions: Test voltage, replace coils, change spark plugs
5. Replacement Guidelines for MWM Ignition Coils
5.1 When to Replace
- Resistance values out of MWM-specified range
- Visible cracks, burns, or oil penetration
- Persistent misfires, hard starting, or power loss
- Reaching the end of service life (8,000–10,000 operating hours)
5.2 Correct Replacement Steps
- Disconnect the battery and cool the engine
- Remove electrical connectors and high-voltage cables
- Loosen mounting bolts and remove the old coil
- Clean the mounting area and apply dielectric grease
- Install genuine MWM coil and tighten to specified torque
- Reconnect cables and test engine operation
5.3 Tips for Longevity
- Use only genuine MWM ignition coils
- Pair with MWM-recommended spark plugs
- Avoid water, oil, and dust contamination
- Maintain regular maintenance records
6. Preventive Maintenance Best Practices
- Keep the engine compartment clean and dry
- Fix oil and coolant leaks immediately
- Avoid frequent cold starts and prolonged idling
- Use stable power supply to prevent voltage fluctuations
- Train operators to recognize early failure symptoms
7. Conclusion
The MWM ignition coil is a vital component that directly impacts engine reliability and efficiency. Regular visual inspections, professional cleaning, precise electrical testing, and timely replacement are the keys to maximizing its service life. By following this maintenance and repair guide, you can minimize downtime, reduce operating costs, and ensure your MWM engine runs stably in industrial, marine, and power generation applications. Always refer to the official MWM engine service manual for model-specific specifications and consult authorized technicians for complex repairs.
Note: This guide is for reference only. Always follow the latest MWM official service manual and safety regulations for engine maintenance.