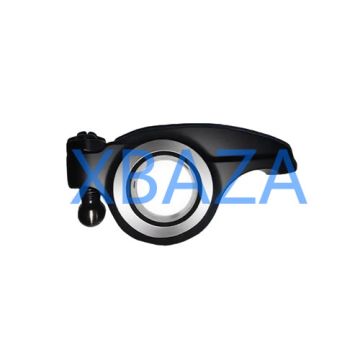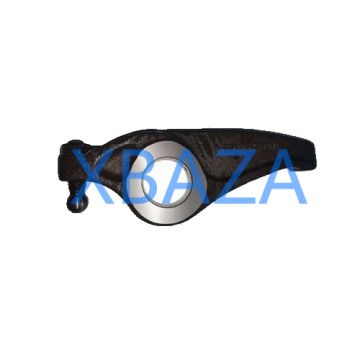
The MWM rocker arm is a critical precision component in MWM diesel engines, responsible for transferring camshaft motion to engine valves, controlling intake and exhaust cycles, and maintaining optimal engine performance. Proper and regular maintenance of rocker arms directly impacts engine efficiency, fuel consumption, noise levels, and service life. This document provides a full, step-by-step guide for inspection, disassembly, repair, lubrication, adjustment, and reassembly of MWM rocker arms for industrial, marine, and power-generation engines.
1. Importance of MWM Rocker Arm Maintenance
Neglected rocker arm maintenance leads to severe engine failures, increased operational costs, and unexpected downtime. Key risks include:
- Unstable valve clearance causing poor combustion and power loss
- Premature wear of rocker arms, shafts, bushings, and valve tips
- Abnormal engine noise, knocking, and mechanical vibration
- Oil leakage and insufficient lubrication leading to seizing
- Broken rocker arms, bent valves, or catastrophic engine damage
- Reduced engine lifespan and higher long-term repair expenses
Regular maintenance ensures stable performance, reduces fuel consumption, lowers emissions, and maximizes the reliability of MWM engines under heavy loads.
2. Recommended Maintenance Intervals
Follow these intervals based on MWM engine manufacturer standards:
- Visual inspection: Every 250 operating hours
- Valve clearance check & adjustment: Every 500 operating hours
- Comprehensive inspection (wear, lubrication, play): Every 1000 operating hours
- Full disassembly, cleaning, and overhaul: Every 4000–6000 operating hours
- Immediate inspection if abnormal noise, oil leakage, or performance drop occurs
3. Pre-Maintenance Safety & Preparation
- Turn off the engine and remove the ignition key or power supply
- Allow engine to cool for at least 60–90 minutes
- Prepare tools: feeler gauges, torque wrenches, pliers, screwdrivers, pullers, cleaning solvent, and lint-free cloths
- Prepare lubricants: genuine MWM recommended engine oil or assembly lubricant
- Record engine model, serial number, and operating hours for documentation
- Cover nearby components to prevent dirt or debris from entering the engine
4. Visual Inspection of MWM Rocker Arm Assembly
Begin with a full external inspection to identify obvious defects:
4.1 External Condition Check
- Inspect for oil leaks around the rocker arm cover and shaft seals
- Check for cracks, deformation, or corrosion on rocker arm bodies
- Verify mounting bolts for tightness and signs of loosening
- Check for abnormal wear marks or scoring on contact surfaces
4.2 Lubrication System Inspection
- Ensure oil supply holes are clean and unclogged
- Check for proper oil flow to rocker arm bushings during engine operation
- Remove carbon deposits, sludge, or metal particles around pivots
4.3 Mechanical Play & Clearance Check
- Check radial and axial play on rocker arms and shaft
- Excessive play indicates worn bushings or a damaged shaft
- Confirm no sticking or binding during movement
5. Valve Clearance Inspection & Adjustment
Valve clearance is the most critical setting for MWM rocker arm performance.
5.1 Standard Clearance Values (MWM Typical)
- Cold engine: Intake 0.20–0.30 mm | Exhaust 0.30–0.40 mm
- Hot engine: Intake 0.25–0.35 mm | Exhaust 0.35–0.45 mm
Always refer to your specific MWM engine model’s official manual.
5.2 Adjustment Procedure
- Rotate the crankshaft to set the piston at TDC (Top Dead Center)
- Loosen the lock nut on the rocker arm adjusting screw
- Insert the correct feeler gauge between the rocker arm and valve stem
- Turn the adjusting screw until slight drag is felt on the gauge
- Hold the screw and tighten the lock nut to specified torque
- Recheck clearance to confirm accuracy
- Repeat for all cylinders
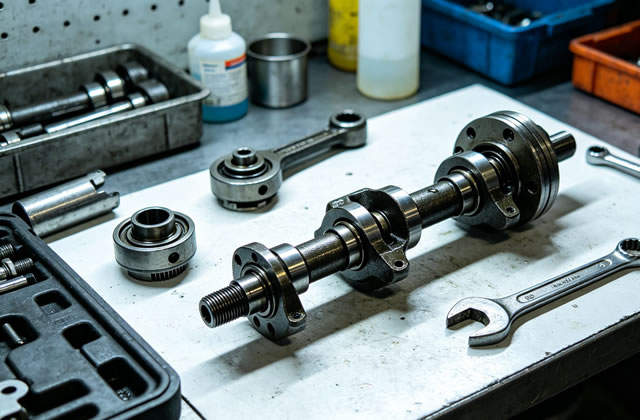
6. Disassembly & Deep Inspection
6.1 Step-by-Step Disassembly
- Remove the rocker arm cover
- Mark all components for correct reassembly orientation
- Loosen and remove adjusting screws and lock nuts
- Remove retaining clips or bolts holding the rocker shaft
- Slide off rocker arms, springs, and spacers
- Remove the rocker shaft from its support brackets
6.2 Core Component Inspection
- Rocker Arm Body: Check for cracks, pitting, deformation, or heat damage
- Bushings: Inspect for wear, scoring, ovality, or excessive clearance
- Rocker Shaft: Check for wear, scratches, bending, or corrosion
- Contact Surfaces: Inspect valve tip and push rod seats for wear
- Springs & Clips: Check for fatigue, breakage, or loss of tension
7. Cleaning Procedures
Proper cleaning removes deposits that cause premature wear:
- Use petroleum-based or industrial cleaning solvent
- Remove all oil sludge, carbon, and metal particles
- Clean oil holes and passages with compressed air (low pressure)
- Dry all components completely with lint-free cloths
- Do not use harsh abrasives that damage precision surfaces
8. Repair & Replacement Standards
8.1 Repairable Conditions
- Minor surface wear on contact points (can be polished)
- Light scuffing on bushings (without excessive play)
- Minor carbon buildup (fully removable)
8.2 Mandatory Replacement
- Cracks or fractures on any rocker arm
- Worn, oval, or seized bushings
- Bent, scored, or worn rocker shaft
- Broken, deformed, or fatigued springs/clips
- Excessive wear on valve contact surfaces
- Damaged threads on adjusting screws
Always use genuine MWM replacement parts to ensure performance and durability.
9. Reassembly & Lubrication
9.1 Lubrication Requirements
- Lubricate rocker shaft, bushings, and contact surfaces before assembly
- Use MWM-specified engine oil or high-temperature assembly lubricant
- Ensure oil holes align correctly for proper lubrication
9.2 Reassembly Steps
- Install the rocker shaft into support brackets
- Slide on rocker arms, spacers, and springs in original order
- Secure with retaining clips or bolts to factory torque
- Install adjusting screws and lock nuts
- Set initial valve clearance before installing the cover
- Install a new gasket on the rocker arm cover to prevent leaks
10. Post-Maintenance Testing
- Start the engine and idle for 5–10 minutes
- Listen for abnormal noise, knocking, or ticking
- Check for oil leaks around the cover and seals
- Recheck valve clearance after warm-up if needed
- Monitor engine performance, vibration, and temperature
- Record maintenance details for future service tracking
11. Tips for Extending Service Life
- Use only high-quality engine oil and replace it at recommended intervals
- Keep the lubrication system clean and free of contaminants
- Avoid overloading the engine for prolonged periods
- Fix oil leaks immediately to prevent lubrication loss
- Perform regular visual inspections to catch issues early
- Always use genuine MWM spare parts for replacement
12. Troubleshooting Common Issues
- Persistent ticking noise: Incorrect valve clearance or worn components
- Oil leakage: Damaged gasket, loose cover, worn seals
- Rocker arm sticking: Insufficient lubrication or worn bushings
- Power loss: Wrong valve clearance or broken valve train parts
- Excessive play: Worn bushings or damaged rocker shaft