Best Practices for Extending Service Life and Ensuring Optimal Performance
1. Introduction to CAT Cylinder Liners
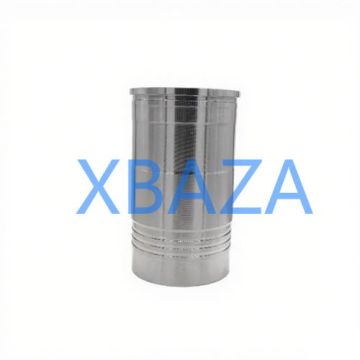
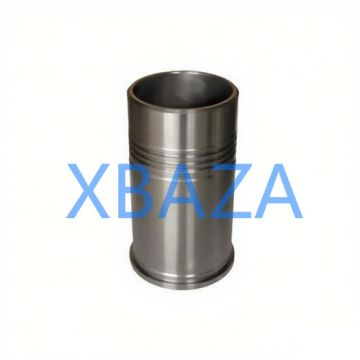
Caterpillar (CAT) cylinder liners are critical components in diesel engines, serving as the cylindrical sleeves that house the piston assembly. Designed to withstand extreme temperatures, high pressure, and constant friction, these liners are engineered to meet the rigorous demands of heavy-duty applications such as construction, mining, agriculture, and power generation. Proper maintenance and timely repair of CAT cylinder liners are essential to prevent engine failure, reduce downtime, and maximize the overall lifespan of the engine.
CAT cylinder liners are manufactured with high-grade cast iron or steel alloys, featuring precision machining to ensure optimal fit and performance. They are categorized into two main types: dry liners (not in direct contact with coolant) and wet liners (in direct contact with engine coolant), each requiring specific maintenance protocols.
2. Routine Maintenance Procedures
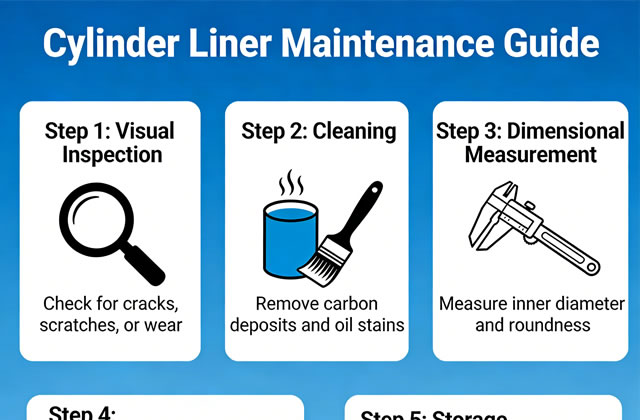
2.1 Regular Inspection
Frequent inspections are the foundation of effective cylinder liner maintenance. Inspections should be conducted during scheduled service intervals (typically every 250-500 operating hours for heavy-duty applications) or whenever the engine shows signs of performance degradation.
- Visual Inspection: Remove the cylinder head and inspect the liner for cracks, scoring, pitting, corrosion, or excessive wear. Pay special attention to the top land area (where the piston ring makes contact at top dead center) and the lower bore near the coolant passages.
- Measurement Checks: Use a bore gauge to measure the liner's inner diameter at multiple points (top, middle, bottom) and in both axial and radial directions. Compare measurements to CAT's OEM specifications – a deviation of more than 0.05mm from the original diameter indicates excessive wear and requires replacement.
- Seal and Gasket Inspection: Check the liner flange gasket and O-rings for leaks, hardening, or damage. Leaking seals can cause coolant contamination in the combustion chamber or oil sump, leading to severe engine damage.
2.2 Cleaning and Debris Removal
Accumulation of carbon deposits, sludge, or metal particles can accelerate liner wear and cause piston scuffing. Follow these steps for thorough cleaning:
- Use a non-abrasive engine degreaser and a soft-bristle brush to remove carbon deposits from the liner surface.
- Flush the coolant passages (for wet liners) with a CAT-approved coolant flush solution to remove scale and corrosion.
- Clean the liner seating surface and block mating area to ensure a proper seal during reinstallation.
- Use compressed air (filtered to 90-100 PSI) to blow out all debris from the liner bore and surrounding areas before reassembly.
2.3 Lubrication Maintenance
Proper lubrication is critical to reduce friction between the liner and piston rings:
- Use only CAT-recommended engine oil (e.g., CAT DEO-ULS or equivalent) that meets API CJ-4 or CK-4 specifications.
- Maintain oil levels within the recommended range – low oil levels cause insufficient lubrication, while overfilling can lead to oil foaming and reduced lubrication efficiency.
- Change engine oil and filters at the intervals specified in the CAT engine manual (typically every 500 hours for heavy-duty use).
3. Common Failure Modes and Repair Solutions
| Failure Mode | Causes | Repair/Prevention Solutions |
|---|---|---|
| Scoring/Grooving | Contaminated oil, insufficient lubrication, piston ring damage, or misaligned piston | Replace liner if scoring depth exceeds 0.1mm; clean oil system; replace piston rings; check piston alignment |
| Cracking | Thermal shock, overheating, improper installation, or coolant cavitation | Replace cracked liner immediately; check coolant system for proper pressure/flow; ensure correct installation torque |
| Corrosion/Pitting | Contaminated coolant, incorrect coolant pH, or inadequate coolant maintenance | Replace corroded liner; flush coolant system; use CAT-approved coolant with correct additive package |
| Warping/Out-of-Round | Uneven heating, over-tightening during installation, or engine block distortion | Replace warped liner; check engine block for flatness; follow torque specifications during installation |
| Seal Leaks | Damaged gaskets/O-rings, dirty mating surfaces, or incorrect installation | Replace seals; clean mating surfaces; apply proper sealant (if recommended by CAT); torque to specifications |
4. Step-by-Step Liner Replacement Procedure
4.1 Preparation
- Ensure the engine is cool and disconnected from all power sources.
- Drain engine oil and coolant to prevent spills during disassembly.
- Remove the cylinder head, piston assembly, and connecting rod.
- Clean the work area and gather necessary tools (bore gauge, torque wrench, liner puller/installer, CAT-approved sealant).
4.2 Removal
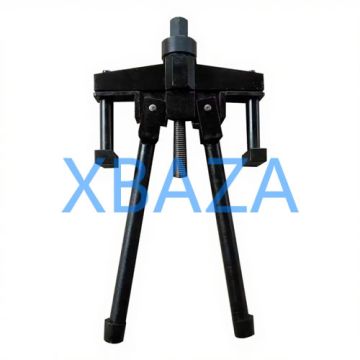
- Use a liner puller tool (CAT part number 1U-8892 or equivalent) to carefully extract the old liner from the engine block.
- Inspect the liner bore in the engine block for damage, corrosion, or debris – clean or repair as needed.
- Remove all old gasket material and sealant from the mating surfaces using a plastic scraper (avoid metal tools to prevent scratching).
4.3 Installation
- Apply a thin layer of CAT-approved sealant to the liner flange (if specified in the service manual).
- Install new O-rings/gaskets onto the liner (lubricate O-rings with clean engine oil for easier installation).
- Carefully lower the new liner into the engine block, ensuring it seats fully and evenly – do not force the liner into place.
- Use a torque wrench to tighten the liner hold-down bolts to CAT's specified torque (typically 25-35 N·m for medium-duty engines).
- Recheck the liner position and measurements to ensure it meets OEM specifications.
4.4 Post-Installation Checks
- Reassemble the piston, connecting rod, and cylinder head.
- Refill the engine with clean oil and CAT-approved coolant.
- Start the engine and run it at idle for 10-15 minutes, checking for leaks (coolant, oil) and abnormal noises.
- Perform a compression test to verify proper sealing and engine performance.
- Record the replacement in the engine service log, including liner part number and installation date.
5. Long-Term Performance Optimization
To maximize the service life of CAT cylinder liners, implement these proactive measures:
- Maintain proper engine operating temperatures – overheating accelerates liner wear and corrosion.
- Use high-quality fuel to reduce carbon buildup and combustion chamber deposits.
- Avoid excessive idling (more than 15 minutes) – low engine load causes incomplete combustion and oil dilution.
- Conduct regular oil analysis to detect early signs of wear (metal particles in oil) before catastrophic failure occurs.
- Follow CAT's recommended break-in procedure for new liners – avoid heavy loads for the first 50 hours of operation.
- Store spare liners in a clean, dry environment to prevent rust and damage – protect the bore with protective caps until installation.