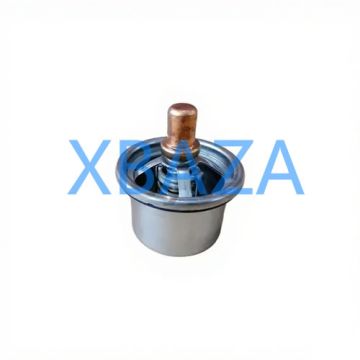
1. Introduction to CAT Regulators
Caterpillar (CAT) regulators are precision-engineered hydraulic, pneumatic, and fuel control components used across CAT heavy machinery, including excavators, loaders, bulldozers, generators, and industrial engines. These regulators control pressure, flow rate, and fuel delivery to ensure optimal equipment performance, efficiency, and safety.
Regular maintenance and timely repair of CAT regulators are critical to prevent equipment downtime, reduce operational costs, extend service life, and avoid catastrophic failures in field operations.
This comprehensive guide covers routine maintenance, inspection, troubleshooting, disassembly, repair, reassembly, and testing procedures for all CAT regulator models.
- Relieve all hydraulic, fuel, and pneumatic pressure before disassembly
- Disconnect power sources and battery to prevent accidental startup
- Wear proper PPE: safety glasses, gloves, protective clothing, and steel-toe boots
- Work in a clean, well-ventilated area to avoid contamination
- Use only genuine CAT replacement parts and approved lubricants
- Follow CAT equipment-specific service manual specifications
2. Types of CAT Regulators & Core Applications
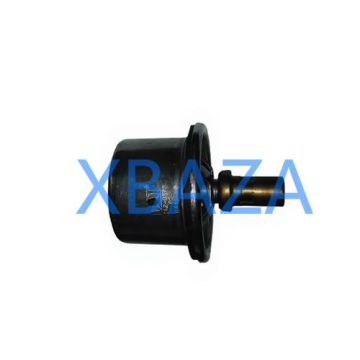
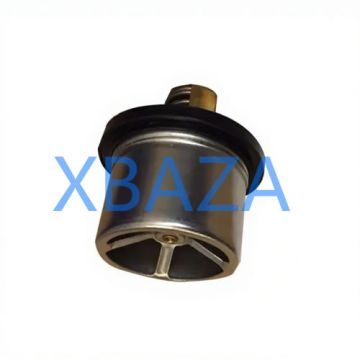
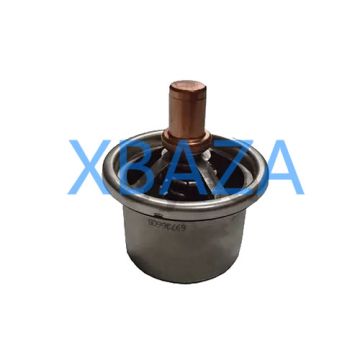
2.1 Hydraulic Pressure Regulators
Control hydraulic system pressure for lift, tilt, and implement functions; prevent overpressure damage to cylinders and valves.
2.2 Fuel Pressure Regulators
Maintain consistent fuel pressure for CAT diesel engines; ensure proper fuel injection and combustion efficiency.
2.3 Pneumatic Regulators
Manage air pressure in air-brake systems and pneumatic controls of CAT heavy equipment.
2.4 Flow Regulators
Regulate fluid flow rate to control speed and movement of hydraulic components.
3. Routine Preventive Maintenance Schedule
| Maintenance Interval | Service Tasks |
|---|---|
| Daily/Pre-Operation | Visual inspection for leaks, damage, and loose fittings; check pressure gauge readings |
| 250 Operating Hours | Clean external surfaces; inspect mounting bolts; check for abnormal noise/vibration |
| 1000 Operating Hours | Full pressure testing; inspect seals and O-rings; verify adjustment functionality |
| 2000 Operating Hours | Complete disassembly, internal inspection, seal replacement, and calibration |
| As Needed | Full overhaul, component replacement, and system re-certification |
4. Step-by-Step Inspection Procedures
4.1 External Inspection
- Inspect the regulator body for cracks, corrosion, deformation, or physical damage
- Check all ports, fittings, and connections for fluid/fuel leaks
- Verify mounting bolts are torqued to CAT specifications
- Examine adjustment knobs/screws for free movement and locking functionality
- Check pressure gauges (if equipped) for accuracy and damage
4.2 Functional Performance Inspection
- Monitor operating pressure under load to ensure stability
- Check for pressure drops, fluctuations, or inability to maintain set pressure
- Listen for unusual hissing, whistling, or rattling noises during operation
- Test response time to pressure adjustment commands
- Verify no air intrusion or contamination in the fluid system
5. Common Faults & Troubleshooting
| Fault Symptom | Potential Causes | Repair Solutions |
|---|---|---|
| Low/Unstable Pressure | Worn seals, diaphragm damage, contaminated valve seat, weak spring | Replace seals, clean valve seat, replace diaphragm/spring |
| Overpressure Condition | Stuck valve, blocked vent, misadjusted setting, broken spring | Free stuck components, clear vents, recalibrate, replace spring |
| Fluid/Fuel Leaks | Damaged O-rings, cracked housing, loose fittings, worn shaft seals | Replace seals, tighten fittings, replace damaged housing |
| No Pressure Adjustment | Seized adjustment screw, broken internal components, blocked passage | Lubricate/adjust screw, replace internal parts, clean passages |
| Abnormal Noise | Air in system, loose components, worn bearings, cavitation | Bleed air, tighten parts, replace worn components, check fluid level |
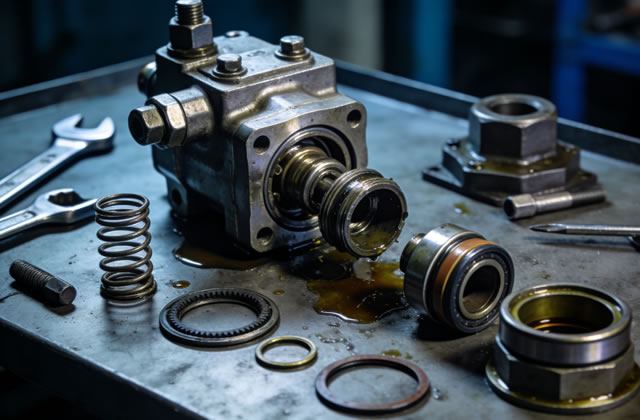
6. Complete Disassembly & Repair Procedure
6.1 Preparation
- Record original pressure settings and markings before disassembly
- Use proper CAT service tools and clean workbench
- Organize components in order to avoid reassembly errors
6.2 Disassembly Steps
- Remove pressure adjustment screw and lock nut
- Take off top cap and pressure spring assembly
- Extract diaphragm/piston assembly carefully
- Remove valve seat, poppet valve, and internal seals
- Clean all internal passages with approved solvent
6.3 Component Inspection & Replacement
- Replace ALL rubber seals, O-rings, and gaskets (preventive replacement)
- Inspect diaphragm for tears, hardening, or deformation
- Check valve seat and poppet for scoring, wear, or contamination
- Measure spring length and tension; replace if out of CAT specs
- Clean or replace clogged filters and screens
7. Reassembly & Calibration
7.1 Reassembly Guidelines
- Lubricate new seals with approved CAT fluid before installation
- Reassemble components in reverse order of disassembly
- Torque all fasteners to manufacturer-specified values
- Ensure no dirt or contamination enters during reassembly
- Verify free movement of internal components before closing
7.2 Pressure Calibration
- Connect regulator to test bench with accurate pressure gauge
- Slowly adjust setting to match CAT equipment requirements
- Lock adjustment screw once correct pressure is achieved
- Test pressure stability under varying flow conditions
- Record calibration date and settings for maintenance records
8. Post-Repair Testing & Validation
- Perform leak-down test for 15+ minutes to ensure no pressure loss
- Operate regulator at minimum and maximum pressure settings
- Check for smooth adjustment without binding or sticking
- Verify performance under simulated working load conditions
- Confirm compliance with CAT original equipment specifications
9. Storage & Long-Term Preservation
- Clean and coat internal components with corrosion inhibitor
- Seal all ports with protective caps to prevent contamination
- Store in dry, temperature-controlled environment
- Perform inspection every 6 months during storage
- Recommissioning requires full re-inspection and calibration
- Keep detailed service records for all maintenance and repairs
- Train maintenance personnel on CAT-specific procedures
- Use only approved fluids, lubricants, and cleaning solvents
- Address small issues immediately to avoid major failures
- Follow CAT factory service manuals for model-specific details
10. Conclusion
Proper maintenance and repair of CAT regulators are essential for reliable performance of Caterpillar heavy equipment. By following this comprehensive guide, technicians can ensure optimal regulator function, minimize downtime, reduce operating costs, and maximize the service life of CAT machinery.
Always refer to your specific CAT equipment service manual for model-exact specifications, torque values, and replacement part numbers. When in doubt, consult authorized CAT service professionals for complex repairs and overhauls.