Ensuring Optimal Performance and Longevity of Jenbacher Gas Engine Oil Filtration Systems
1. Introduction to Jenbacher Oil Filters
Jenbacher gas engines are renowned for their reliability and efficiency in power generation, industrial, and cogeneration applications. The oil filter is a critical component of these engines, responsible for removing contaminants (such as metal particles, dirt, and sludge) from the engine oil. This prevents abrasive wear on vital engine parts (e.g., crankshafts, bearings, and pistons), maintains oil viscosity, and extends the overall service life of the engine. Proper maintenance of Jenbacher oil filters is essential to avoid unplanned downtime, reduce repair costs, and ensure compliance with Jenbacher's operational standards.
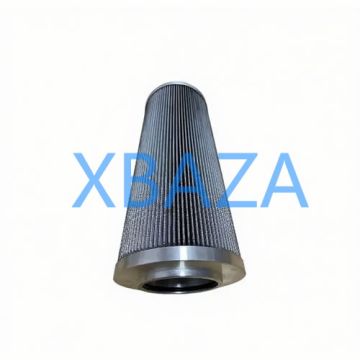
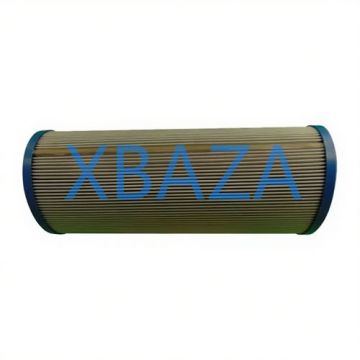
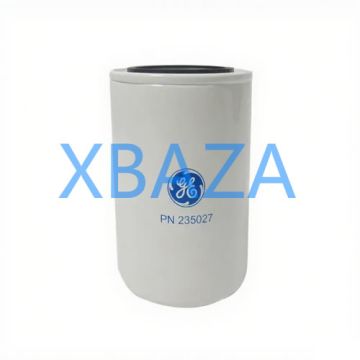
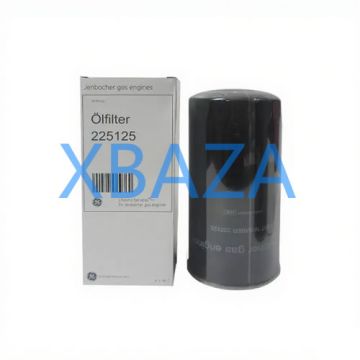
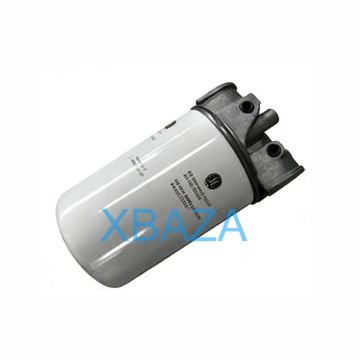
Jenbacher oil filters are engineered to meet the specific demands of gas engines, including high operating temperatures, continuous load cycles, and exposure to varying fuel qualities. They are available in two primary types for Jenbacher engines: spin-on cartridge filters and replaceable element filters, each designed for specific engine models (e.g., J312, J420, J620, J612).
2. Key Maintenance Intervals
Adhering to scheduled maintenance intervals is critical to prevent filter clogging and oil degradation. Below are the recommended intervals for Jenbacher oil filter inspection and replacement, aligned with Jenbacher OEM guidelines:
| Engine Model | Filter Replacement Interval (Operating Hours) | Additional Inspection (Interval) |
|---|---|---|
| Jenbacher J312 / J320 | 500 hours | Visual check every 250 hours |
| Jenbacher J420 / J416 | 800 hours | Pressure drop check every 400 hours |
| Jenbacher J612 / J620 | 1000 hours | Oil analysis + filter inspection every 500 hours |
Note: Intervals may be shortened if the engine operates in harsh conditions (e.g., high dust, extreme temperatures, or poor fuel quality). Always refer to the engine’s specific service manual for model-specific requirements.
3. Step-by-Step Filter Replacement Procedure
3.1 Pre-Replacement Preparation
- Ensure the engine is shut down and cooled to ambient temperature (minimum 30 minutes) to avoid burns from hot oil.
- Gather required tools and materials:
- Jenbacher OEM oil filter (matching engine model)
- Oil filter wrench (compatible with Jenbacher filters)
- Drain pan (capacity ≥ 5L)
- Clean rags and disposable gloves
- Engine oil (Jenbacher-approved grade, e.g., SAE 15W-40)
- Thread sealant (if required for filter housing)
- Isolate the engine from power sources and tag the system to prevent accidental startup (lockout/tagout procedure).
3.2 Filter Removal
- Position the drain pan beneath the oil filter housing to catch residual oil.
- Loosen the filter housing/cartridge using the filter wrench:
- For spin-on filters: Turn counterclockwise to loosen, then remove by hand.
- For element filters: Remove the housing cover bolts, lift the cover, and extract the filter element and gasket.
- Wipe the filter mounting surface with a clean rag to remove oil, dirt, or old gasket material (ensure no debris remains on the sealing surface).
- Inspect the mounting surface for damage (e.g., scratches, dents) – replace the housing if damage is found.
3.3 Filter Installation
- Prepare the new filter:
- For spin-on filters: Apply a thin layer of clean engine oil to the filter’s rubber gasket (this ensures a tight seal and prevents sticking).
- For element filters: Insert the new element into the housing, replace the gasket (use OEM parts only), and ensure the element is seated correctly.
- Install the filter:
- Spin-on filters: Hand-tighten until the gasket contacts the mounting surface, then tighten an additional ¾ turn with the wrench (do not over-tighten).
- Element filters: Replace the housing cover, torque the bolts to Jenbacher’s specified value (typically 25-30 Nm) in a crisscross pattern.
- Refill the engine with the recommended grade and volume of oil (refer to the service manual for capacity).
3.4 Post-Installation Checks
- Start the engine and let it idle for 2-3 minutes (do not apply load).
- Inspect the filter housing and mounting surface for oil leaks – shut down the engine immediately if leaks are detected.
- Check the oil pressure gauge: Ensure pressure is within Jenbacher’s normal range (typically 2.5-4 bar at idle).
- Shut down the engine, wait 5 minutes for oil to settle, and check the oil level (top up if necessary).
Important Safety & Warning Notes
- Never perform maintenance on a running engine – risk of severe injury from moving parts or hot oil.
- Use only Jenbacher OEM oil filters – non-OEM filters may not meet pressure/filtration standards, leading to engine damage.
- Dispose of used oil and filters in accordance with local environmental regulations (do not discard in regular waste).
- Do not reuse oil filters – even if they appear clean, contaminants remain trapped in the filter media.
- If oil pressure drops suddenly after filter replacement, shut down the engine immediately and inspect for filter clogging or incorrect installation.
4. Best Practices for Extended Filter Life
- Conduct regular oil analysis (every 500 hours) to monitor contaminant levels and oil condition – this helps identify early filter issues.
- Keep the engine compartment clean to prevent dirt from entering the oil system during filter replacement.
- Replace the engine oil at the recommended intervals (typically every 2 filter changes) – old oil reduces filter efficiency.
- Inspect the oil pressure relief valve (part of the filter housing) during filter replacement – a stuck valve can bypass the filter, leading to unfiltered oil circulation.
- Train maintenance technicians on Jenbacher-specific procedures – improper installation is the leading cause of filter failures.
5. Troubleshooting Common Filter Issues
5.1 Filter Clogging (High Pressure Drop)
Symptoms: Low oil pressure, engine overheating, or filter warning light activation.
Causes: Extended service intervals, contaminated oil, or use of low-quality fuel/air filters.
Solution: Replace the filter immediately, change the engine oil, and inspect the air/fuel filtration systems for leaks or clogging.
5.2 Oil Leaks at Filter Housing
Symptoms: Oil pooling beneath the filter, reduced oil level, or visible leaks.
Causes: Damaged gasket, over-tightened filter, or dirty mounting surface.
Solution: Shut down the engine, drain oil, replace the gasket/filter, clean the mounting surface, and reinstall to the correct torque.
5.3 Filter Bypass Activation
Symptoms: Oil pressure fluctuations, increased engine wear, or black/dirty oil.
Causes: Clogged filter, faulty bypass valve, or incorrect filter type.
Solution: Replace the filter, test the bypass valve (replace if stuck), and confirm the filter is compatible with the engine model.
6. Conclusion
Proper maintenance of Jenbacher oil filters is a foundational aspect of engine reliability. By following OEM-recommended intervals, using genuine parts, and adhering to the step-by-step procedures outlined in this guide, you can maximize filter performance, extend engine life, and minimize operational downtime. Regular inspections, oil analysis, and adherence to safety protocols are key to ensuring your Jenbacher engine operates at peak efficiency for years to come. For complex issues or warranty-related maintenance, always contact an authorized Jenbacher service technician.