Industry-Standard Guidelines for Caterpillar Engine Connecting Rod Care
1. Introduction to CAT Connecting Rods
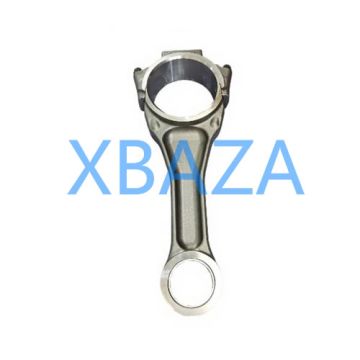
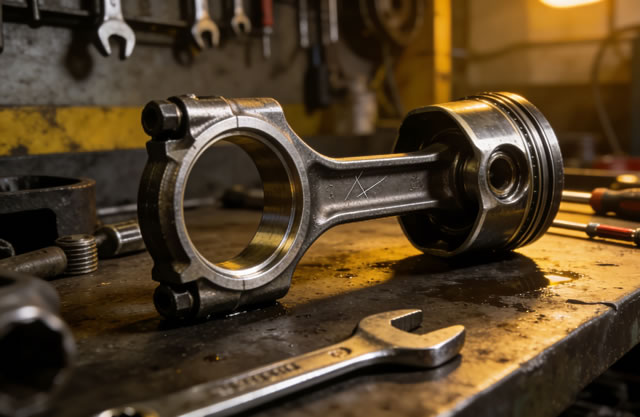
The connecting rod is a critical component in Caterpillar (CAT) internal combustion engines, serving as the mechanical link between the piston and the crankshaft. It converts the linear reciprocating motion of the piston into rotational motion of the crankshaft, transferring power to the engine’s output. CAT connecting rods are engineered for extreme durability, but regular maintenance and timely repair are essential to prevent catastrophic engine failure, minimize downtime, and extend the overall service life of the engine.
CAT connecting rods are used across a wide range of applications, including heavy-duty construction equipment, agricultural machinery, marine engines, and power generation systems. Each application places unique stresses on the rod, making tailored maintenance protocols necessary.
2. Key Inspection Procedures
2.1 Pre-Inspection Preparation
- Ensure the engine is completely shut down, cooled to ambient temperature, and disconnected from all power sources.
- Remove all external components (covers, manifolds, etc.) to access the connecting rod assembly safely.
- Clean the surrounding area thoroughly to prevent contamination of internal engine components during inspection.
- Gather necessary tools: torque wrench, micrometer, dial bore gauge, feeler gauges, magnetic particle inspection (MPI) kit, and cleaning solvents.
2.2 Visual Inspection
- Check for visible cracks, scratches, or gouges on the rod body, big end, and small end.
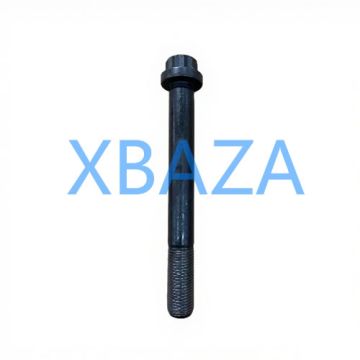
- Inspect the connecting rod bolts for stretching, thread damage, or corrosion (replace bolts if any damage is found).
- Examine the bearing surfaces for uneven wear, scoring, or discoloration (indicators of insufficient lubrication or misalignment).
- Verify that the rod’s oil passages are clear and free of debris (clogged passages cause lubrication failure).
2.3 Dimensional Inspection
| Measurement | Tool Required | Acceptance Criteria (CAT Standard) |
|---|---|---|
| Big end bore diameter | Dial bore gauge | Within ±0.002mm of OEM specification |
| Small end bushing clearance | Feeler gauge | 0.015mm – 0.035mm (varies by model) |
| Rod bend/twist | Connecting rod aligner | ≤0.05mm over entire length |
| Bolt torque | Torque wrench | Follow CAT OEM torque sequence and values (typically 85-110 N·m + 90° turn) |
2.4 Non-Destructive Testing (NDT)
For critical applications, perform MPI or ultrasonic testing to detect hidden cracks in the rod material:
- Magnetic Particle Inspection (MPI): Ideal for surface and near-surface cracks in ferrous materials (standard for CAT steel connecting rods).
- Ultrasonic Testing (UT): Used to detect internal defects not visible to the naked eye.
3. Maintenance Best Practices
3.1 Lubrication Maintenance
Proper lubrication is the single most important factor in connecting rod longevity:
- Use only CAT-approved engine oils that meet the API CK-4 or CAT ECF-3 specifications.
- Monitor oil pressure and temperature continuously during operation (low oil pressure is a leading cause of rod bearing failure).
- Change engine oil and filters at the recommended intervals – contaminated oil accelerates bearing wear.
- Inspect oil galleries for blockages during routine overhauls to ensure consistent lubrication to the rod bearings.
3.2 Preventive Maintenance
- Keep engine operating within specified temperature and load limits (overloading causes excessive stress on connecting rods).
- Replace connecting rod bearings during major overhauls, even if they appear undamaged (bearings are a wear item).
- Torque connecting rod bolts to OEM specifications using a calibrated torque wrench – under-torquing causes looseness, over-torquing stretches bolts.
- Store spare connecting rods in a clean, dry environment to prevent corrosion and damage.
4. Repair Procedures for Damaged Connecting Rods
4.1 When to Repair vs. Replace
Repair is feasible only for minor damage:
- Minor surface scratches or wear on bearing surfaces (can be reconditioned via honing).
- Loose small end bushings (can be pressed out and replaced).
- Cracks are detected (even small cracks propagate under load).
- Bend/twist exceeds OEM limits (cannot be corrected without compromising material integrity).
- Material deformation (e.g., from overheating or impact).
- Thread damage to bolt holes (cannot be repaired safely).
4.2 Step-by-Step Repair Process (Minor Damage)
- Clean the rod thoroughly with a degreaser and dry completely to remove all contaminants.
- Hone the big end bore to restore smooth surface finish (follow CAT’s honing specifications for surface roughness).
- Press out the small end bushing using a hydraulic press (use a proper bushing removal tool to avoid damaging the rod).
- Press in a new OEM CAT bushing, ensuring it is seated flush and aligned with oil passages.
- Recheck all dimensions (bore size, clearance) to confirm compliance with OEM standards.
- Assemble the rod with new bearings and torque bolts to specification (follow the cross-torque sequence).
5. Post-Repair Verification
After maintenance or repair, perform the following checks before returning the engine to service:
- Re-inspect all dimensional parameters to confirm compliance with CAT specifications.
- Perform a manual rotation of the crankshaft to ensure smooth movement (no binding or excessive play).
- Check oil pressure during engine startup (idle and full load) to confirm proper lubrication.
- Monitor engine temperature, vibration, and noise during the first 100 operating hours post-repair.
- Document all inspection, repair, and verification steps in the engine maintenance log (required for CAT warranty compliance).
6. Common Failure Modes & Root Causes
- Bearing Failure: Caused by low oil pressure, contaminated oil, or incorrect bearing clearance (leading to rod knock).
- Rod Breakage: Result of hidden cracks, overloading, or improper bolt torque (catastrophic failure).
- Bend/Twist: Caused by engine overheating, hydrolock, or impact from foreign objects in the cylinder.
- Bushing Wear: Due to insufficient lubrication or misalignment between the piston pin and rod small end.