Technical Guidelines for Reliable Operation of Jenbacher Gas Engine Fuel Valves
1. Overview of Jenbacher Gas Valves
Jenbacher gas valves are critical components in Jenbacher gas engine systems (J200, J400, J600, and J920 series), responsible for regulating the precise flow of natural gas, biogas, or landfill gas into the engine cylinders. These valves—including inlet valves, exhaust valves, fuel gas control valves, and safety shut-off valves—are engineered to operate under extreme conditions (pressure ranges: 0.5–10 bar, temperatures: -20°C to 180°C) with minimal leakage and maximum responsiveness.
Jenbacher gas valves feature precision-machined components (FKM seals, stainless steel valve seats, and electro-hydraulic actuators) that require regular maintenance to prevent performance degradation, gas leaks, or unplanned downtime. Neglecting valve maintenance can lead to inefficient combustion, increased emissions, engine misfires, or even safety hazards due to uncontrolled gas flow.
2. Preventive Maintenance Schedule
Preventive maintenance is essential to extend the service life of Jenbacher gas valves (target lifespan: 20,000+ operating hours). The following schedule aligns with Jenbacher OEM recommendations and is categorized by valve type:
| Valve Type | Light Duty (≤40% Load) | Medium Duty (40–70% Load) | Heavy Duty (>70% Load) |
|---|---|---|---|
| Fuel Gas Control Valve | Inspection: 12,000 hrs | Overhaul: 24,000 hrs | Inspection: 8,000 hrs | Overhaul: 18,000 hrs | Inspection: 5,000 hrs | Overhaul: 12,000 hrs |
| Safety Shut-Off Valve | Inspection: 8,000 hrs | Overhaul: 20,000 hrs | Inspection: 6,000 hrs | Overhaul: 15,000 hrs | Inspection: 4,000 hrs | Overhaul: 10,000 hrs |
| Inlet/Exhaust Valve | Inspection: 10,000 hrs | Overhaul: 22,000 hrs | Inspection: 7,500 hrs | Overhaul: 18,000 hrs | Inspection: 5,000 hrs | Overhaul: 12,000 hrs |
Maintenance Tip
For biogas applications (high moisture and sulfur content), reduce inspection intervals by 30% to account for accelerated corrosion and seal degradation.
3. Core Maintenance Procedures
3.1 Pre-Maintenance Safety Protocols
- 1 Shut down the engine and isolate the gas supply using lockout-tagout (LOTO) procedures to prevent accidental gas flow.
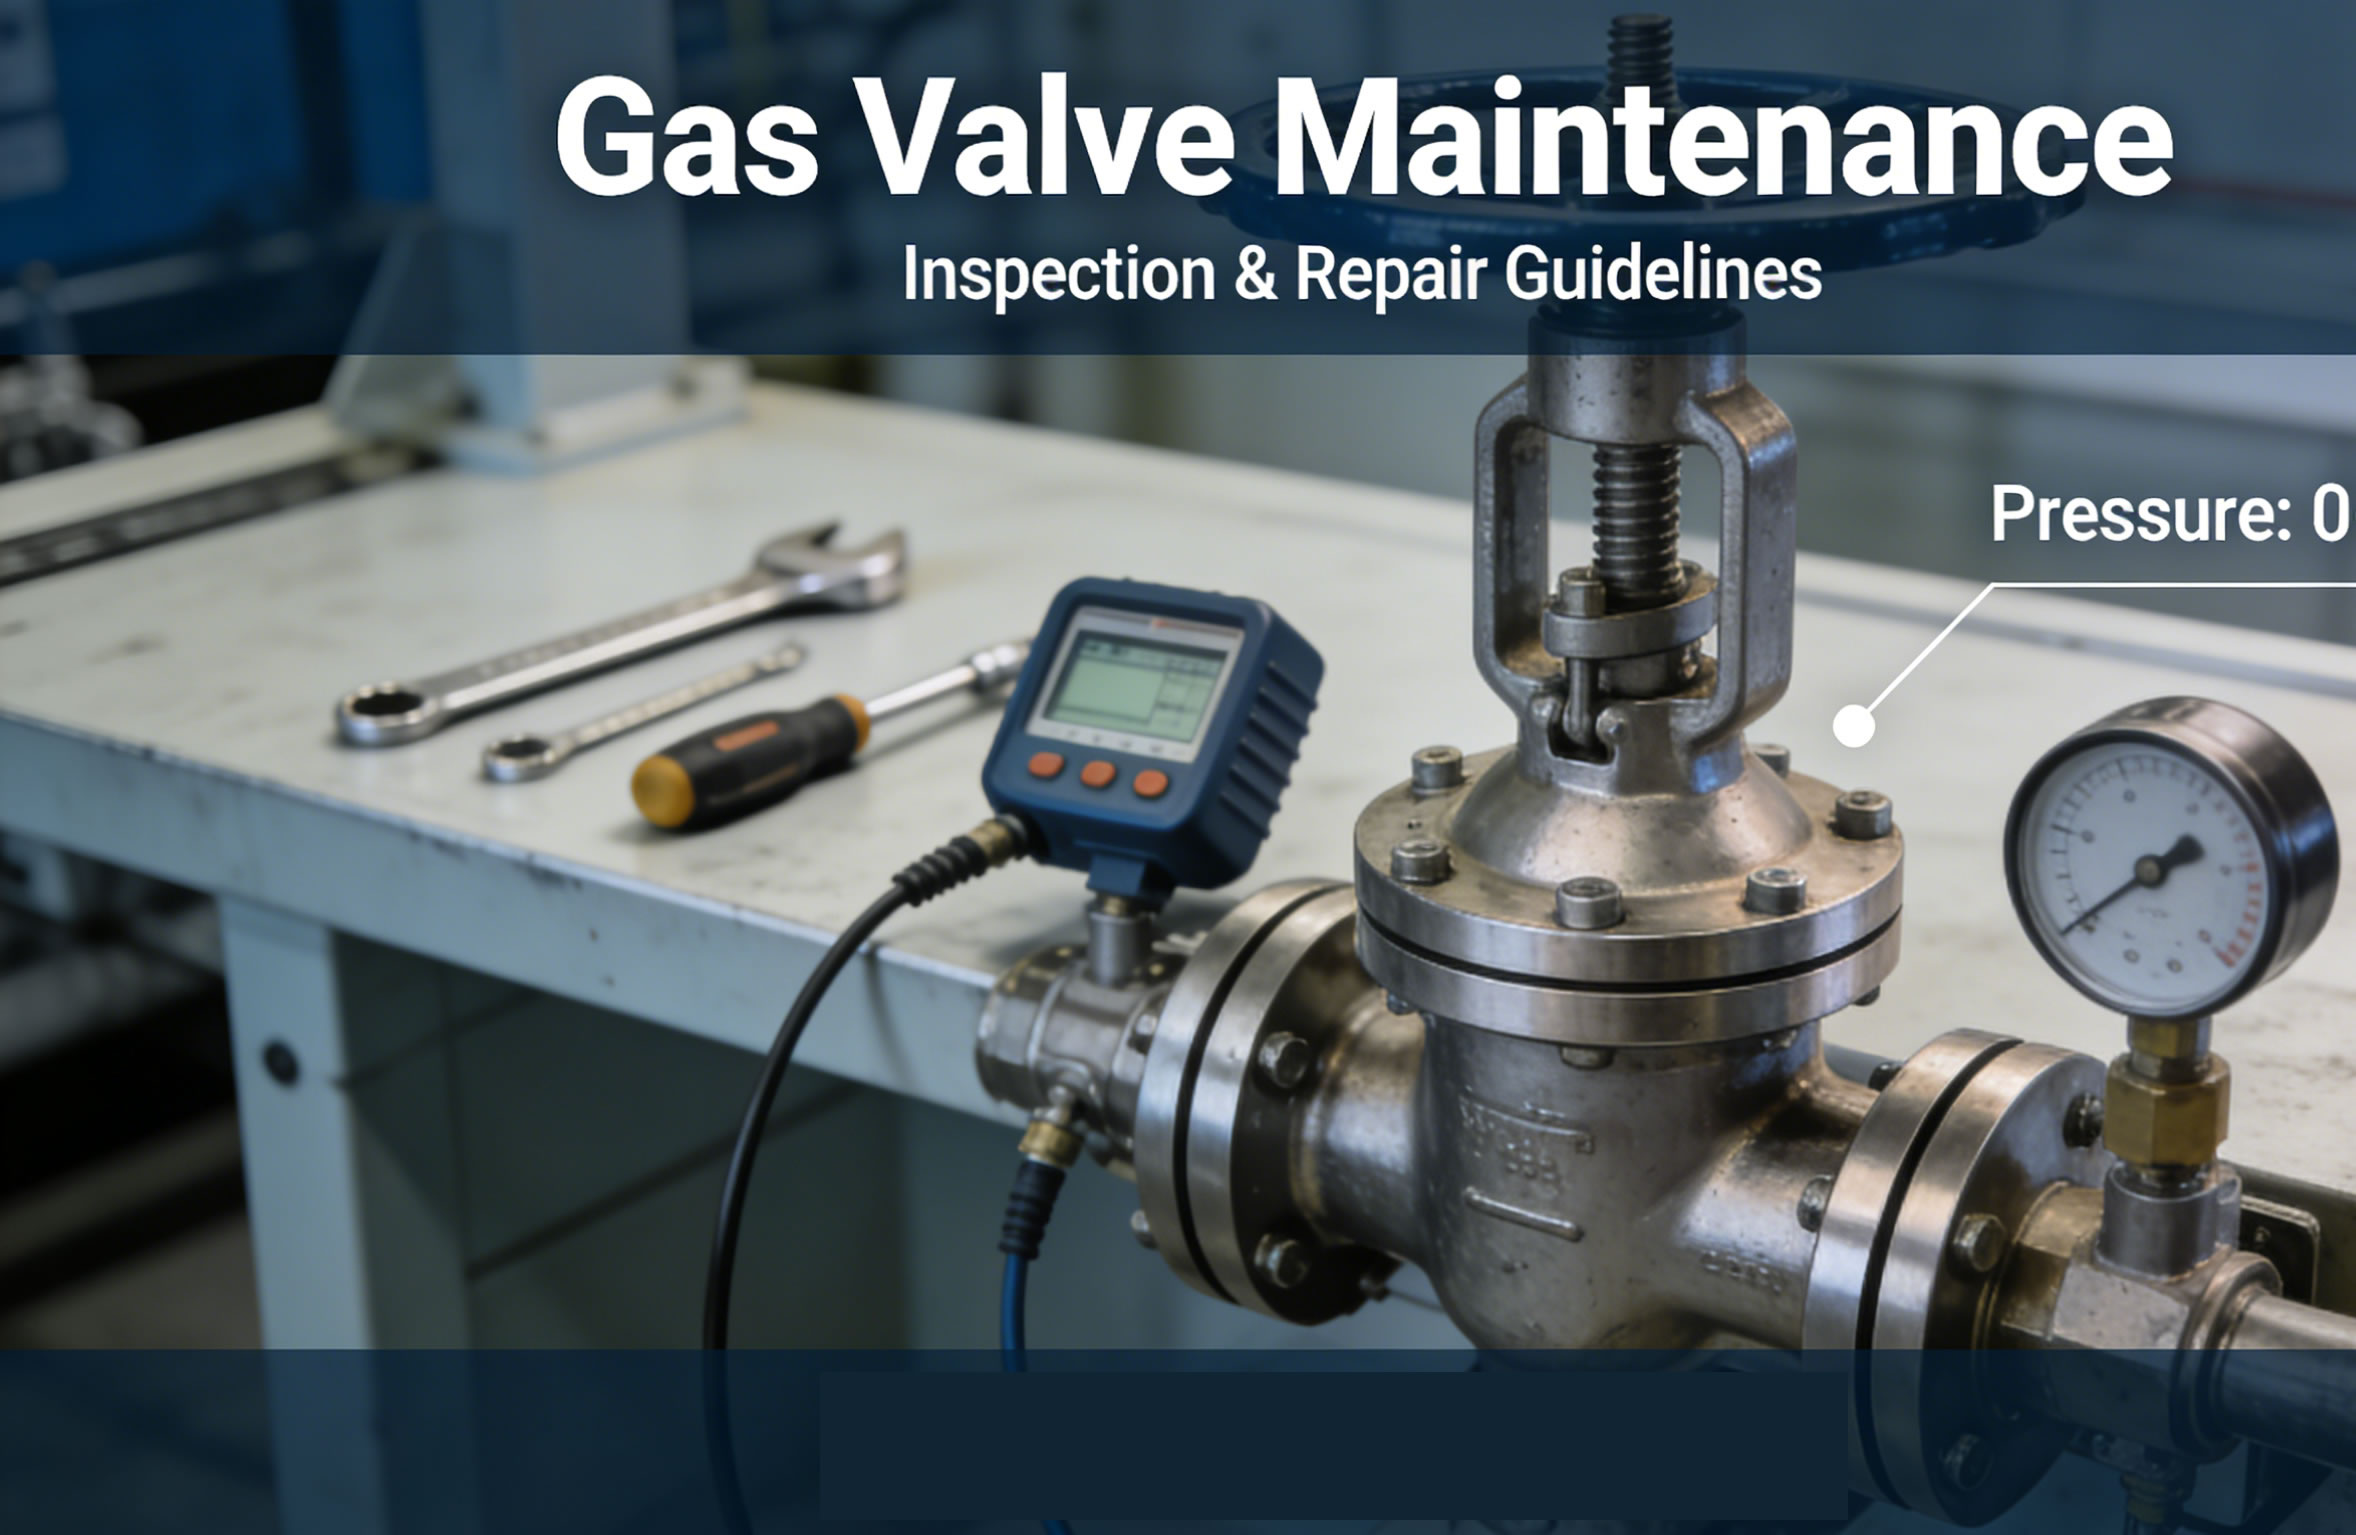
- 2 Depressurize the gas line (verify pressure ≤0 bar using a calibrated pressure gauge) to eliminate explosion risks.
- 3 Ventilate the work area and perform a gas leak test (using Jenbacher-approved gas detector, Part No. JEN-87654) to confirm no residual gas.
- 4 Wear PPE (safety glasses, nitrile gloves, flame-retardant clothing) to protect against gas exposure and mechanical injury.
3.2 Inspection Procedures
- Visual Inspection: Check valve body for cracks, corrosion, or loose fasteners; inspect valve stem for scoring or wear; verify actuator linkage for bent or damaged components.
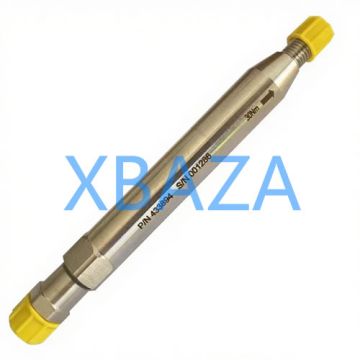
- Seal Condition Check: Examine FKM (fluorocarbon) seals and O-rings for hardening, cracking, or swelling—replace immediately if any damage is found (OEM part: JEN-12345).
- Leakage Testing: Use a soap solution or ultrasonic leak detector to test for gas leaks at valve connections and seals; acceptable leakage rate: ≤0.01 mbar·l/s.
- Actuator Calibration Check: Verify electro-hydraulic actuator response time (target: ≤0.5 seconds) and pressure setting (per engine model specs) using Jenbacher diagnostic tool (JEM-2000).
- Valve Seat Inspection: Check valve seat for pitting, wear, or carbon buildup; measure seat runout (maximum allowable: 0.02mm) with a dial indicator.
3.3 Cleaning & Refurbishment
- 1 Disassemble the valve per Jenbacher service manual (avoid forcing components to prevent damage to precision machined surfaces).
- 2 Clean metal components with Jenbacher-approved solvent (Part No. JEN-98765) to remove carbon deposits and grease—do not use abrasive cleaners.
- 3 Hone valve seats (using 400-grit diamond hone) to remove minor pitting and restore smooth sealing surface (only if wear is ≤0.05mm).
- 4 Lubricate valve stem and seals with Jenbacher high-temperature grease (Part No. JEN-54321) compatible with FKM materials (avoid petroleum-based lubricants).
- 5 Replace worn components (seals, springs, gaskets) with genuine Jenbacher OEM parts—non-OEM parts may cause leakage or valve failure.
3.4 Reassembly & Calibration
- Reassemble the valve in reverse order of disassembly, torquing fasteners to Jenbacher specs (e.g., valve cover bolts: 25 Nm, actuator mounting bolts: 45 Nm).
- Calibrate the valve position sensor (VPS) to ensure accurate fuel flow control—use JEM-2000 diagnostic tool to match OEM calibration curves.
- Test valve operation (open/close cycle) 10 times to verify smooth movement and no sticking; check for abnormal noise or vibration.
Caution
Improper torque on valve fasteners can cause warping of the valve body, leading to permanent leakage. Always use a calibrated torque wrench and follow Jenbacher’s torque specifications.
4. Post-Maintenance Testing & Validation
After maintenance, perform the following tests to confirm valve functionality:
- Pressure Holding Test: Pressurize the gas line to operating pressure (e.g., 5 bar for J600 series) and hold for 30 minutes—pressure drop must be ≤0.1 bar.
- Response Time Test: Measure valve open/close response time using JEM-2000—deviations >10% from OEM specs indicate actuator issues.
- Engine Run Test: Start the engine and run at 50% load for 1 hour; monitor fuel flow rate, exhaust emissions (NOx, CO), and valve temperature (normal range: 60–100°C).
- Leak Test (Post-Run): Recheck for gas leaks after engine cool-down to ensure no post-heating seal failure.
5. Troubleshooting Common Gas Valve Issues
| Symptom | Root Cause | Recommended Solution |
|---|---|---|
| Gas leakage at valve body | Damaged FKM seals, warped valve seat, loose fasteners | Replace seals, resurface/replace valve seat, retorque fasteners to specs |
| Slow valve response | Contaminated actuator fluid, worn valve stem, faulty solenoid | Flush actuator fluid, replace valve stem, test/replace solenoid |
| Valve sticking (open/closed) | Carbon buildup, insufficient lubrication, bent valve stem | Clean valve components, apply OEM lubricant, replace valve stem |
| Inconsistent fuel flow | Calibration drift, damaged position sensor, clogged fuel filter | Recalibrate VPS, replace sensor, clean/replace fuel filter |
| Excessive valve temperature | Restricted cooling passage, incorrect gas flow, worn valve guide | Clean cooling passage, adjust gas flow, replace valve guide |
6. Long-Term Reliability Best Practices
To maximize Jenbacher gas valve performance and lifespan, implement these strategies:
- Maintain clean fuel gas: Install Jenbacher OEM gas filters (Part No. JEN-11223) to remove particulate matter (>5 μm) and moisture (dew point ≤-10°C).
- Monitor gas quality: Test for sulfur (≤50 ppm), siloxanes (≤10 ppm), and other contaminants that accelerate seal degradation.
- Document maintenance: Record inspection dates, test results, and part replacements for trend analysis and predictive maintenance.
- Train technicians: Ensure maintenance staff are certified in Jenbacher gas valve service (per Jenbacher Training Program JTP-007).
- Store spare parts properly: Keep OEM seals and valves in a dry, temperature-controlled environment (15–25°C) to prevent premature aging.