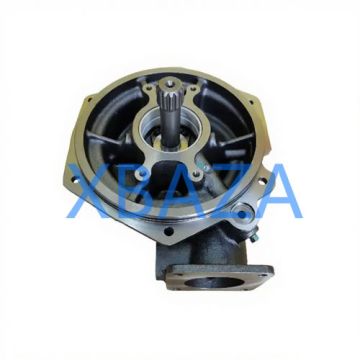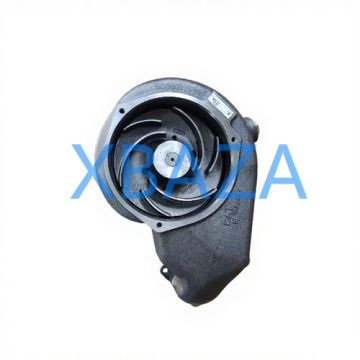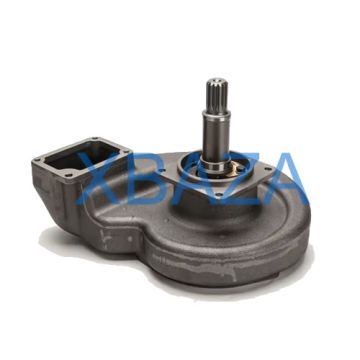
The Caterpillar (CAT) water pump is a critical component of heavy-duty engine cooling systems, responsible for circulating coolant to regulate engine temperature, prevent overheating, and maximize equipment lifespan. Whether used in excavators, loaders, trucks, generators, or industrial CAT engines, proper water pump maintenance and timely repair directly impact performance, fuel efficiency, and downtime reduction. This guide covers routine maintenance, detailed inspection, common failures, step-by-step repair, and long-term care for CAT water pumps.
1. Core Functions of CAT Water Pumps
CAT water pumps are engineered for extreme operating conditions, delivering reliable coolant circulation under high pressure, high temperature, and heavy loads. Key functions include:
- Circulate ethylene glycol or extended-life coolant (ELC) throughout the engine block, cylinder head, and radiator
- Dissipate heat generated by combustion and friction to avoid engine overheating
- Protect engine components (pistons, valves, bearings) from thermal damage
- Maintain optimal operating temperature for fuel efficiency and emission control
- Support consistent performance in construction, mining, marine, and industrial applications
2. Recommended Routine Maintenance Schedule
Adhere to CAT’s official service intervals to avoid premature water pump failure and extend service life:
- Every 250 operating hours / 3 months: Visual inspection for leaks, corrosion, and loose mounts
- Every 500 operating hours / 6 months: Check belt tension, pulley alignment, and coolant level/condition
- Every 1,000 operating hours / 12 months: Full system flush, coolant replacement, and bearing noise inspection
- Every 2,000–4,000 operating hours: Comprehensive water pump inspection (seals, bearings, impeller)
Note: Severe-duty applications (dust, high ambient temperatures, continuous operation) require more frequent maintenance.
3. Detailed Pre-Repair Inspection Procedure
Before repairing or replacing a CAT water pump, conduct a full inspection to identify root causes of malfunction:
3.1 External Leak Inspection
Check these areas for coolant leaks:
- Shaft seal weep hole (primary leak indicator for failed seals)
- Mounting gasket surface between pump and engine
- Hose connections and clamps
- Pump body for cracks or corrosion damage
3.2 Bearing & Pulley Inspection
- Turn off the engine and allow full cooling
- Grasp the water pump pulley and check for side-to-side play (excessive movement = worn bearings)
- Spin the pulley manually – smooth rotation = good condition; grinding/rough feel = bearing failure
- Inspect pulley for cracks, bending, or misalignment
3.3 Coolant & System Inspection
- Test coolant concentration (30%–50% ethylene glycol recommended for CAT engines)
- Check for oil contamination in coolant (sign of head gasket or internal engine failure)
- Inspect for rust, sediment, or debris (causes impeller damage and flow reduction)
3.4 Belt & Tension Inspection
Loose or worn drive belts cause insufficient water pump speed, leading to overheating. Check for glazing, cracking, or improper tension per CAT specifications.
4. Most Common CAT Water Pump Failures & Causes
- Seal Leakage: Caused by contaminated coolant, worn components, or improper lubrication
- Bearing Failure: Result of over-tensioned belts, cavitation, corrosion, or lack of maintenance
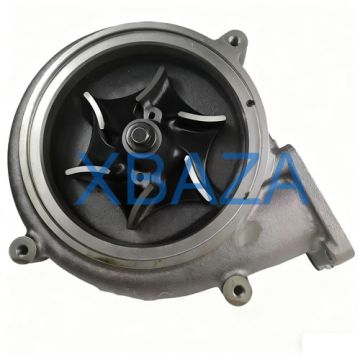
- Impeller Damage: Corrosion, erosion, sediment buildup, or broken impeller blades reduce coolant flow
- Pump Body Corrosion: Low-quality coolant, incorrect mixture, or lack of system flushing
- Overheating Issues: Caused by seized bearings, blocked passages, or loose belts
- Noisy Operation: Grinding/wailing sounds indicate advanced bearing wear
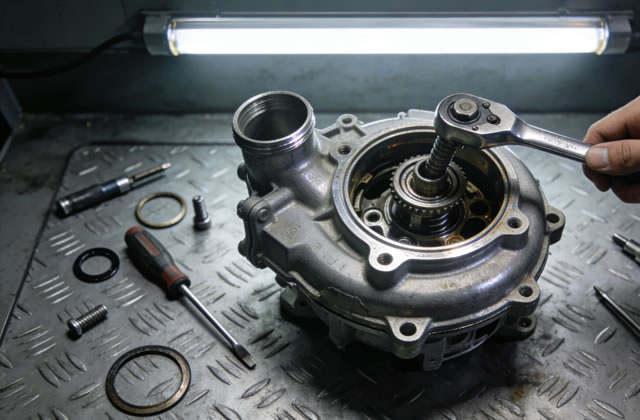
5. Step-by-Step CAT Water Pump Repair & Replacement
This procedure applies to most CAT industrial and heavy-equipment engines (C7, C9, C13, C15, 3406, 3126, etc.). Always reference your engine’s official service manual for model-specific specs.
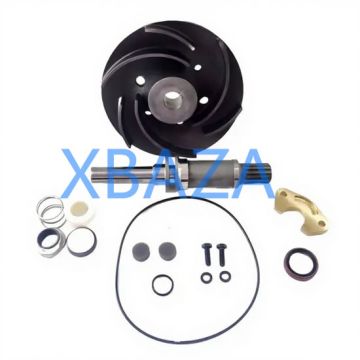
Tools & Parts Required
- Genuine CAT water pump rebuild kit or OEM replacement pump
- Coolant drain pan
- Socket set, wrenches, torque wrench
- Pulley puller (if needed)
- gasket sealant (CAT-approved)
- Clean rags, coolant flush solution
- New coolant (CAT ELC recommended)
5.1 Removal Procedure
- Allow engine to cool completely to avoid pressure and heat hazards
- Place drain pan under radiator and engine block; drain all coolant
- Remove drive belt(s) connected to the water pump pulley
- Disconnect coolant hoses from the water pump inlet/outlet
- Loosen and remove mounting bolts holding the pump to the engine
- Gently remove the water pump; scrape off old gasket material completely
5.2 Cleaning & Preparation
- Clean the engine mounting surface thoroughly to ensure a tight, leak-free seal
- Inspect the mounting surface for cracks or damage
- Flush coolant passages to remove rust, scale, and debris
5.3 Installation Procedure
- Install a new gasket with CAT-approved sealant (do NOT reuse old gaskets)
- Align the water pump correctly and hand-thread mounting bolts first
- Tighten bolts to CAT-specified torque in a cross pattern to avoid warping
- Reconnect coolant hoses and secure with new clamps if needed
- Reinstall drive belts and adjust tension to factory specifications
- Refill the system with new CAT extended-life coolant
- Bleed air from the cooling system to prevent airlocks and overheating
5.4 Post-Installation Testing
- Start the engine and run at idle for 5–10 minutes
- Inspect for leaks at seals, gaskets, and hose connections
- Check for abnormal noise (grinding, rattling)
- Monitor engine temperature gauge to ensure stable operation
- Re-torque mounting bolts after initial heat cycle if required
6. Long-Term Care & Best Practices
- Use ONLY CAT-approved extended-life coolant (ELC) – avoid mixed coolant types
- Flush the entire cooling system every 2 years or 2,000 hours
- Maintain proper coolant concentration (30%–50% antifreeze)
- Replace belts, hoses, and clamps during water pump service to reduce repeat downtime
- Store equipment in clean, dry environments to minimize corrosion
- Address overheating issues immediately to avoid catastrophic pump and engine damage
- Use genuine CAT replacement parts for maximum durability and warranty compliance
7. When to Replace Instead of Repair
Consider full water pump replacement if you observe any of the following:
- Severe corrosion or cracks in the pump housing
- Irreparable bearing damage or excessive shaft play
- Broken or eroded impeller blades
- Multiple repeated seal failures
- High-hour units (over 4,000 hours) with visible wear
Final Summary
The CAT water pump is the heart of your engine’s cooling system. Proactive maintenance, regular inspections, and prompt repairs are the most effective ways to prevent costly breakdowns, extend equipment life, and maintain peak performance. By following CAT’s official guidelines, using genuine parts, and adhering to strict service schedules, you can ensure your water pump operates reliably in even the harshest working conditions.
Always consult your specific CAT engine service manual for model-specific torque values, maintenance intervals, and repair procedures.