The crankshaft is the heart of any CAT engine, responsible for converting the linear motion of pistons into rotational power that drives heavy machinery. Proper maintenance and timely repair of CAT crankshafts are critical to ensuring engine longevity, optimal performance, and minimizing costly downtime in construction, mining, and industrial applications. This guide outlines best practices for inspecting, maintaining, and repairing CAT crankshafts across all engine models (including C7, C9, 3406, and 3512).
1. Key Components of a CAT Crankshaft
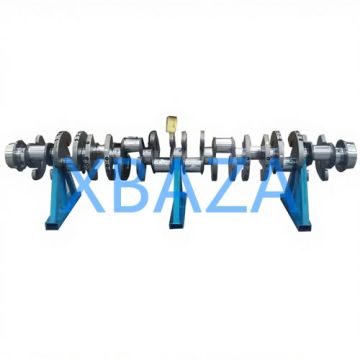
A CAT crankshaft consists of several critical components that work in tandem to withstand extreme mechanical stress:
- Main Journals: Cylindrical surfaces that rest on main bearings, supporting the crankshaft’s weight.
- Connecting Rod Journals (Rod Big Ends): Offset journals that connect to piston rods, transferring piston motion to rotation.
- Crankpins: The bearing surfaces where connecting rods attach, subject to high pressure and friction.
- Counterweights: Balanced weights that reduce vibration and ensure smooth rotation.
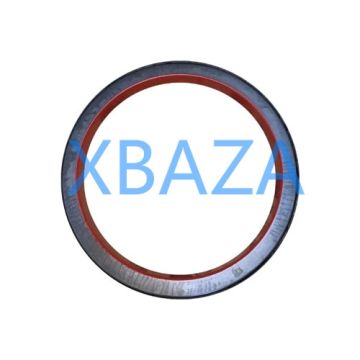
- Front/Rear Sealing Surfaces: Prevent oil leakage and protect against contamination.
2. Routine Maintenance for CAT Crankshafts
Preventive maintenance is far more cost-effective than reactive repair. Follow these steps to keep CAT crankshafts in optimal condition:
2.1 Regular Inspection Schedule
| Engine Application | Inspection Interval (Hours) | Key Inspection Points |
|---|---|---|
| Light-duty (Construction Equipment) | 250 | Oil analysis, visual check for leaks, vibration monitoring |
| Medium-duty (Mining Trucks) | 500 | Oil analysis, bearing clearance measurement, journal wear |
| Heavy-duty (Power Generation) | 1000 | Full dimensional check, magnetic particle inspection, torque verification |
2.2 Essential Maintenance Steps
- Oil and Filter Changes: Use only CAT Genuine Oil (SAE 15W-40 or as specified) and replace filters at recommended intervals. Contaminated oil accelerates journal wear and bearing failure.
- Bearing Clearance Check: Measure main and rod bearing clearances using plastigage. CAT specifications typically range from 0.0015" to 0.0030" for main bearings and 0.0020" to 0.0035" for rod bearings.
- Surface Cleaning: Remove sludge, carbon deposits, and metal particles from journals using a non-abrasive solvent and lint-free cloth. Avoid scratching journal surfaces.
- Torque Verification: Recheck main bearing cap torques to CAT OEM specifications (e.g., 3406 engine main caps: 180-200 ft-lbs) to prevent loosening under load.
- Vibration Analysis: Use a vibration meter to detect imbalance, which may indicate counterweight damage or journal wear.
3. Common CAT Crankshaft Issues and Repair Procedures
Even with proper maintenance, crankshafts may develop issues due to excessive load, overheating, or contamination. Below are the most common problems and step-by-step repair methods:
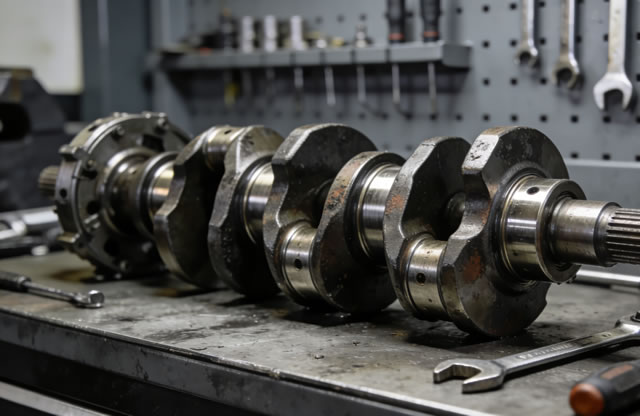
3.1 Journal Wear and Scoring
Worn or scored journals are the most frequent issue, caused by insufficient lubrication or metal contaminants in the oil. Repair steps:
- Remove the crankshaft from the engine block and clean all surfaces thoroughly.
- Measure journal diameter at multiple points (top/bottom/side) using a micrometer to check for out-of-roundness or taper.
- If wear is within 0.001" of OEM limits, refinish the journal by grinding (follow CAT’s undersize specifications: 0.010", 0.020", 0.030").
- Replace bearings with undersized versions matching the ground journal size.
- Polish the journal with 400-grit emery cloth (in the direction of rotation) to restore a smooth finish.
3.2 Crankshaft Bent or Misaligned
Bending occurs from engine overheating, hydrolock, or improper installation. Repair steps:
- Check straightness using a dial indicator mounted on a steady rest; total indicator runout (TIR) should not exceed 0.0005" per foot of crankshaft length.
- For minor bending (TIR < 0.001"), straighten the crankshaft using a hydraulic press (follow CAT’s straightening guidelines to avoid cracking).
- For severe bending (TIR > 0.001"), replace the crankshaft (straightening may compromise structural integrity).
3.3 Fatigue Cracks
Cracks form at stress points (fillets between journals and webs) due to cyclic loading. Detection and repair:
- Perform magnetic particle inspection (MPI) or dye penetrant testing to identify surface cracks (mandatory for high-hour engines).
- Small cracks (less than 0.030" deep) can be repaired by grinding and blending the fillet radius to CAT specifications (typically 0.125" minimum).
- Large cracks or cracks in critical areas (counterweights, journal fillets) require crankshaft replacement (welding is not recommended for CAT crankshafts, as it weakens the material).
4. Post-Repair Validation and Break-In
After repair or replacement, validate the crankshaft installation and perform a proper break-in to ensure longevity:
- Recheck all bearing clearances and torque specifications before reassembly.
- Prime the oil system with CAT pre-luber to ensure full lubrication before starting the engine.
- Run the engine at idle (1000-1200 RPM) for 30 minutes, then at 50% load for 2 hours—avoid full load for the first 50 hours.
- Perform an oil analysis after the first 50 hours to check for metal particles (indicative of improper break-in or assembly).
5. When to Replace a CAT Crankshaft
Replacement is necessary if:
- Journal wear exceeds the maximum undersize limit (typically 0.030").
- Crankshaft bending cannot be corrected (TIR > 0.001").
- Fatigue cracks are deep or located in non-repairable areas.
- Counterweights are damaged or loose (welding is not a permanent fix).
6. Best Practices for Long-Term Crankshaft Performance
- Use only CAT Genuine Parts (bearings, seals, oil) to ensure compatibility and quality.
- Avoid overloading the engine—excessive torque puts undue stress on the crankshaft.
- Maintain proper cooling system function to prevent engine overheating (a leading cause of crankshaft damage).
- Train technicians on CAT’s OEM repair procedures—improper installation (e.g., uneven torque) leads to premature failure.
- Store spare crankshafts in a clean, dry environment, supported at main journals to prevent bending during storage.
In conclusion, CAT crankshaft maintenance requires a proactive approach, adherence to OEM specifications, and attention to detail. Regular inspections, proper lubrication, and timely repairs will extend the life of the crankshaft and maximize the reliability of CAT engines in even the harshest operating conditions. Always consult the CAT Service Manual for model-specific specifications and procedures, and contact a certified CAT service technician for complex repairs or replacements.