Jenbacher gas engines are renowned for their reliability, efficiency, and long service life in power generation applications across industrial, commercial, and utility sectors. A critical component that underpins this performance is the Jenbacher Gasket Kit—an assembly of precision-engineered gaskets designed to create airtight and fluid-tight seals between engine components. Proper maintenance and care of these gasket kits are essential to prevent leaks, optimize engine performance, minimize downtime, and extend the overall lifespan of Jenbacher engines. This guide provides a detailed overview of best practices for handling, inspecting, installing, and maintaining Jenbacher Gasket Kits.
1. Understanding the Role of Jenbacher Gasket Kits
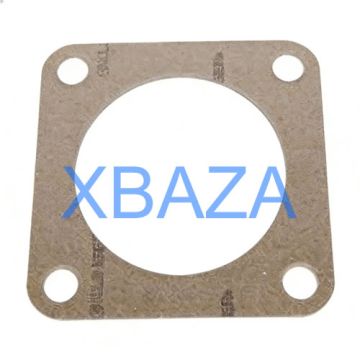
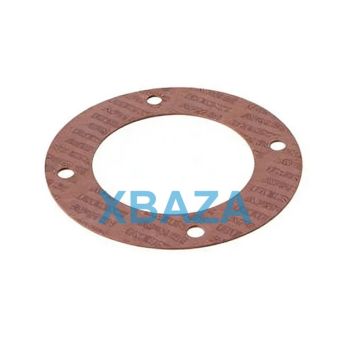
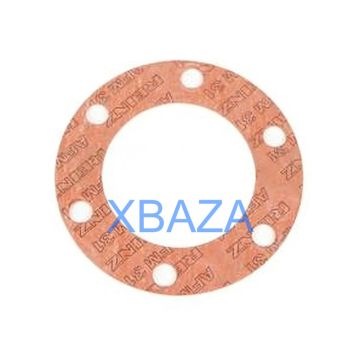
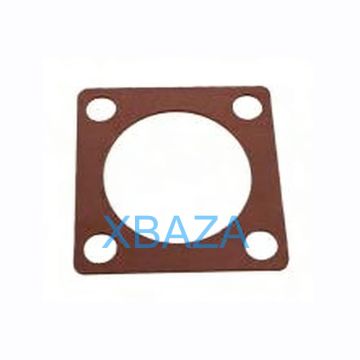
Jenbacher Gasket Kits are tailored to specific engine models (e.g., J312, J420, J620, J920) and include a range of gaskets for critical engine systems:
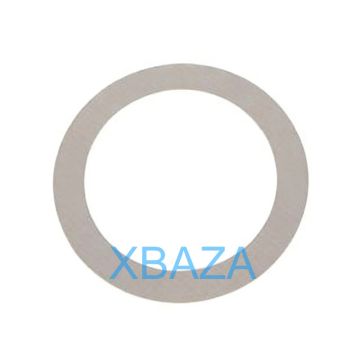
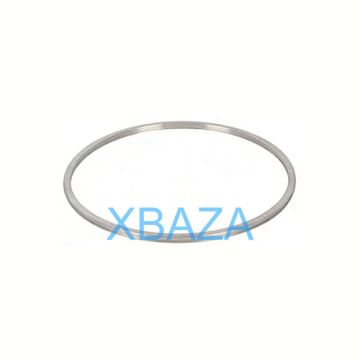
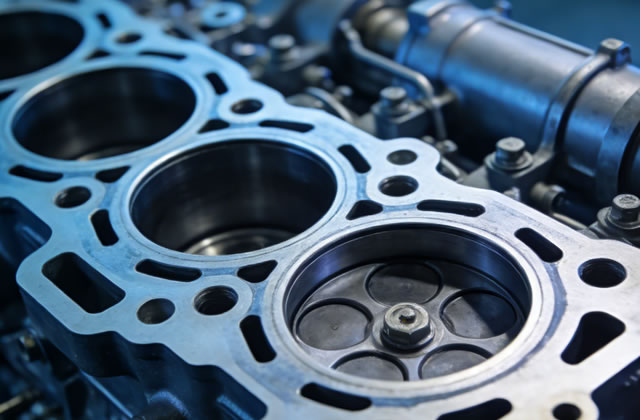
- Cylinder head gaskets: Seal the junction between the cylinder head and engine block, preventing combustion gas leaks and coolant/oil cross-contamination.
- Valve cover gaskets: Prevent oil leaks from the valve cover area and protect internal components from dust and debris.
- Intake/exhaust manifold gaskets: Maintain airtight seals for the intake and exhaust systems, ensuring optimal air-fuel mixture and exhaust gas flow.
- Oil pan gaskets: Seal the oil pan to the engine block, preventing oil leaks and maintaining proper lubrication system pressure.
- Coolant system gaskets: Seal connections in the cooling system to prevent coolant leaks and maintain engine temperature regulation.
Each gasket in the kit is manufactured to Jenbacher’s strict quality standards, using materials (e.g., nitrile rubber, silicone, metal-reinforced composites, graphite) that withstand high temperatures, pressure, and chemical exposure unique to gas engine operation.
2. Storage and Handling Best Practices
Improper storage and handling are leading causes of gasket damage before installation. Follow these guidelines to preserve gasket integrity:
Storage Guidelines
- Store gasket kits in their original, sealed packaging in a clean, dry, and temperature-controlled environment (15–25°C / 59–77°F).
- Avoid exposure to direct sunlight, moisture, ozone, and harsh chemicals (e.g., solvents, fuels) that can degrade gasket materials.
- Keep gaskets away from sharp objects, heavy equipment, and excessive pressure to prevent physical damage (tears, creases, indentations).
- Rotate inventory to use older gasket kits first—adhere to the manufacturer’s shelf-life recommendations (typically 2–3 years from production date).
Handling Guidelines
- Always wear clean, lint-free gloves when handling gaskets to avoid oil, grease, or dirt contamination.
- Handle gaskets gently—do not stretch, bend, or twist them, as this can distort their shape and compromise sealing ability.
- Inspect packaging for damage before opening; if the seal is broken or the kit is damaged, return it to the supplier for replacement.
3. Pre-Installation Inspection
Before installing a Jenbacher Gasket Kit, a thorough inspection is critical to identify defects or damage that could lead to post-installation leaks:
- Visual inspection: Check all gaskets for cracks, tears, missing material, uneven thickness, or deformation. Pay special attention to sealing surfaces (e.g., the bead on cylinder head gaskets).
- Material integrity: Ensure rubber components are not brittle, cracked, or swollen (signs of chemical exposure). Metal-reinforced gaskets should have no rust, corrosion, or loose metal layers.
- Kit completeness: Verify that all required gaskets (per the engine model’s parts manual) are included and match the part numbers specified for your Jenbacher engine.
- Surface preparation check: Even if the gasket is intact, confirm that the engine mating surfaces (where the gasket will sit) are clean, flat, and free of scratches, corrosion, or debris—damaged mating surfaces will compromise gasket performance regardless of gasket quality.
4. Proper Installation Procedures
Correct installation is as important as gasket quality. Follow Jenbacher’s official service manual for your engine model, and adhere to these core principles:
- Cleanliness: Thoroughly clean all mating surfaces with a non-abrasive solvent (recommended by Jenbacher) and a lint-free cloth. Remove all old gasket material, sealant residue, oil, grease, and debris.
- Sealant usage: Only use sealants approved by Jenbacher—many Jenbacher gaskets are pre-coated with the correct sealant, and over-applying or using unapproved sealants can clog oil passages or create uneven sealing.
- Torque specifications: Use a calibrated torque wrench to tighten fasteners (bolts/nuts) to Jenbacher’s specified torque values, following the recommended tightening sequence (typically from center to outer edges). Over-tightening can crush the gasket; under-tightening will cause leaks.
- Alignment: Ensure gaskets are properly aligned with bolt holes and fluid passages—misalignment can create gaps and leaks.
- Post-installation check: After assembly, perform a leak test (pressure test for coolant/oil systems, visual/audible check for gas leaks) before starting the engine.
5. Routine Maintenance and Inspection During Operation
Even with proper installation, gaskets degrade over time due to thermal cycling, vibration, and chemical exposure. Implement these routine checks to detect issues early:
| Inspection Interval | Key Checkpoints | Signs of Gasket Failure |
|---|---|---|
| Daily visual check | Engine exterior (valve covers, oil pan, manifold connections) | Oil/coolant leaks, white/black smoke from exhaust (coolant/combustion gas leaks) |
| Weekly operational check | Engine pressure (coolant/oil), exhaust gas composition | Abnormal pressure drops, elevated hydrocarbon emissions (intake/exhaust gasket leaks) |
| Monthly detailed inspection | Cylinder head bolts (torque verification), gasket mating surfaces (for seepage) | Loose bolts, discoloration (signs of heat leaks) around gaskets |
| Major service (per Jenbacher manual, typically 8,000–12,000 operating hours) | Full gasket kit inspection/replacement | Brittle/cracked gaskets, compressed gasket material (loss of sealing ability) |
6. Replacement Criteria for Jenbacher Gasket Kits
Replace the entire gasket kit (not just individual gaskets) when any of the following conditions are met:
- Visible signs of gasket damage (tears, cracks, deformation) or leaks.
- Engine has reached the manufacturer’s recommended service interval for gasket replacement (varies by model—e.g., J420: 10,000 hours; J620: 12,000 hours).
- Major engine repairs (e.g., cylinder head removal, manifold replacement, oil pan repair) are performed—gaskets are single-use components and should not be reused.
- Engine overheating or misfire events occur (thermal shock can damage gaskets even if no visible leaks are present).
Always use Genuine Jenbacher OEM Gasket Kits for replacements. Aftermarket gaskets may not meet Jenbacher’s material and dimensional specifications, leading to premature failure and potential engine damage.
7. Troubleshooting Common Gasket-Related Issues
If gasket failure is suspected, diagnose the root cause to prevent recurrence:
- Coolant leaks: Check cylinder head gaskets (common cause of coolant entering combustion chambers or oil pan). Verify head bolt torque and mating surface flatness.
- Oil leaks: Inspect valve cover, oil pan, and front/rear crankshaft seal gaskets. Ensure fasteners are torqued correctly and mating surfaces are clean.
- Combustion gas leaks: Check intake/exhaust manifold gaskets or cylinder head gaskets. Leaks may cause rough idle, reduced power, or increased fuel consumption.
- Premature gasket wear: Investigate root causes (e.g., improper torque, contaminated fluids, engine overheating, misaligned components) and address before reinstalling a new gasket kit.
8. Safety Considerations
Always follow Jenbacher’s safety protocols when working with gasket kits:
- Ensure the engine is fully shut down, cooled, and isolated from fuel/gas supplies before inspecting or replacing gaskets.
- Wear appropriate PPE (personal protective equipment): safety glasses, heat-resistant gloves, and protective clothing to avoid contact with hot surfaces, fluids, or chemicals.
- Dispose of old gaskets in accordance with local environmental regulations—some gasket materials may contain hazardous substances (e.g., asbestos in very old kits; always handle with care).