Best Practices for Extending Service Life and Ensuring Optimal Performance
1. Introduction to CAT Valves
CAT (Caterpillar) valves are critical components in heavy-duty industrial and construction equipment, designed to regulate the flow of fluids (liquids, gases, and slurries) in hydraulic, pneumatic, and fuel systems. These valves are engineered for durability and performance in harsh operating conditions, but regular maintenance and timely repair are essential to prevent unexpected downtime, reduce operational costs, and maintain equipment safety standards.
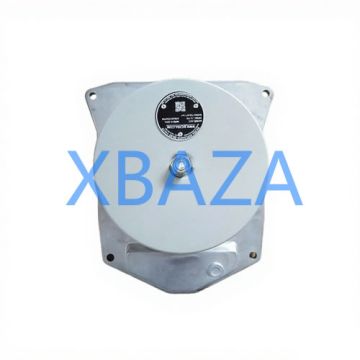
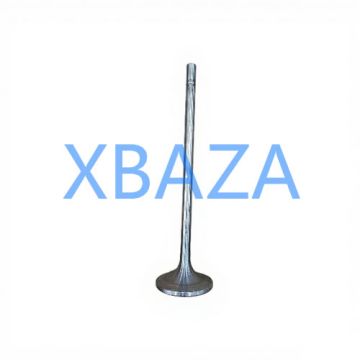
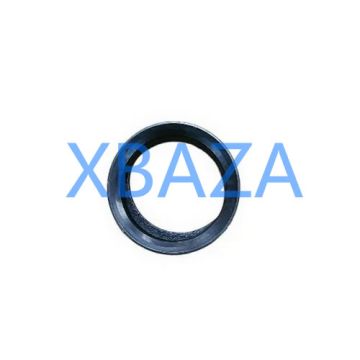
CAT valves come in various configurations, including control valves, check valves, relief valves, ball valves, and gate valves, each serving a specific function in the equipment's hydraulic or fluid management system. Proper care of these valves ensures consistent performance, minimizes leakage, and extends the overall service life of the equipment.
2. Safety Precautions Before Maintenance
- Ensure the equipment is completely shut down and isolated from power sources (electrical, hydraulic, pneumatic).
- Relieve all pressure from the system using proper pressure release procedures – never attempt to disassemble a pressurized valve.
- Wear appropriate Personal Protective Equipment (PPE): safety glasses, gloves, steel-toed boots, and protective clothing.
- Verify that lockout/tagout (LOTO) procedures have been implemented to prevent accidental startup.
- Work in a well-ventilated area, especially when handling hydraulic fluids or cleaning solvents.
- Keep fire extinguishers nearby when working with flammable fluids or materials.
- Refer to the specific CAT equipment service manual for model-specific safety requirements.
3. Routine Maintenance Procedures
3.1 Daily Inspection Checklist
Perform these quick checks at the start of each shift to identify early signs of valve issues:
- Visual inspection for fluid leaks around valve body, connections, and seals
- Check for abnormal noises (hissing, rattling) during valve operation
- Verify proper valve positioning and actuation response
- Inspect mounting hardware for tightness and corrosion
- Check fluid levels and quality in associated hydraulic/pneumatic systems
3.2 Weekly Maintenance Tasks
- Clean external surfaces of the valve to remove dirt, debris, and hydraulic fluid residue
- Lubricate valve stems and actuation mechanisms with CAT-recommended lubricants
- Test valve operation under normal load conditions to confirm performance
- Inspect hoses and connections for wear, cracks, or bulging
- Record maintenance activities in equipment log for traceability
3.3 Monthly/Quarterly Maintenance
- Partial disassembly of valve (as applicable) to inspect internal components
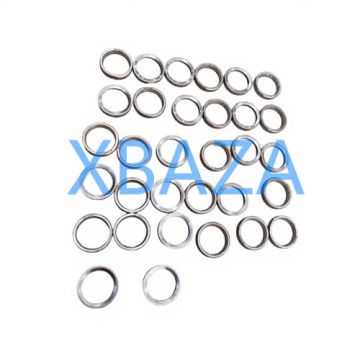
- Check valve seats, seals, and O-rings for wear, cracking, or deformation
- Measure valve clearances and tolerances against CAT specifications
- Clean internal passages to remove sediment, scale, or contamination
- Replace worn or damaged gaskets, seals, and small components
- Calibrate valve actuators and position sensors (for automated valves)
- Perform pressure testing to verify valve integrity and leak-tightness
4. Common CAT Valve Issues and Repair Procedures
| Common Issue | Root Cause | Repair/Resolution |
|---|---|---|
| Valve Leakage | Worn seals/O-rings, damaged valve seat, loose fittings, corrosion | Replace seals/O-rings, resurface or replace valve seat, tighten fittings, clean and treat corrosion |
| Slow Actuation | Contaminated fluid, insufficient lubrication, worn actuator, pressure loss | Flush hydraulic system, replace fluid, lubricate actuator, repair pressure leaks, replace worn actuator parts |
| Valve Sticking | Dirt/contamination buildup, corrosion, improper alignment, thermal expansion | Disassemble and clean valve, replace corroded components, realign valve assembly, check operating temperature |
| Abnormal Noise | Cavitation, loose components, misalignment, worn bearings | Adjust pressure settings, tighten hardware, realign valve, replace bearings |
| Inconsistent Flow Control | Worn valve spool, calibration drift, sensor malfunction | Replace valve spool, recalibrate valve controls, test and replace faulty sensors |
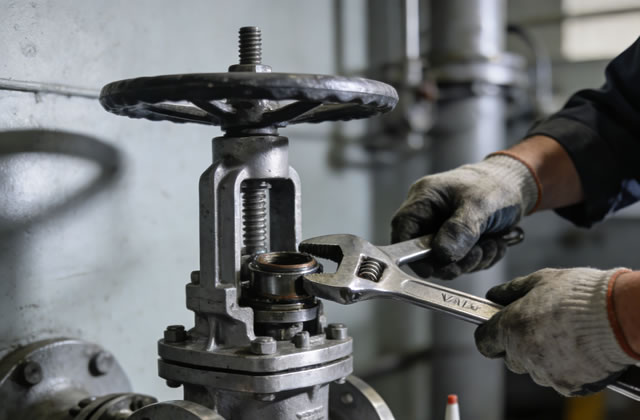
4.1 Step-by-Step Valve Disassembly and Reassembly
- Document the valve's current position and connections (take photos for reference)
- Disconnect all hydraulic/pneumatic lines and electrical connections (if applicable)
- Remove mounting bolts and carefully extract the valve from the equipment
- Place the valve on a clean, flat work surface covered with a lint-free cloth
- Disassemble the valve in a systematic manner, keeping components organized (use labeled trays)
- Clean all components with CAT-approved solvent; avoid abrasive cleaners that damage precision surfaces
- Inspect all components for wear, damage, or deformation – replace any non-conforming parts with genuine CAT parts
- Apply CAT-recommended lubricant to O-rings, seals, and moving parts before reassembly
- Reassemble the valve in reverse order of disassembly, ensuring proper alignment and torque specifications
- Reinstall the valve into the equipment, reconnect all lines/connections, and verify proper alignment
- Perform a pressure test and operational check to confirm no leaks and proper functionality
5. Required Tools and Materials
Basic Hand Tools
- Torque wrench (CAT-specified range)
- Socket set (metric and imperial)
- Allen key set
- Adjustable wrenches
- Screwdrivers (flathead and Phillips)
Specialized Tools
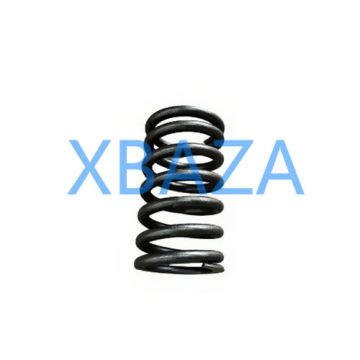
- Valve spring compressor
- Seal removal/install tool kit
- Pressure gauge (0-5000 PSI)
- Fluid sampling kit
- Torque angle gauge
Materials
- Genuine CAT replacement seals/O-rings
- CAT-approved hydraulic fluid
- CAT-specified lubricants
- Cleaning solvent (CAT-recommended)
- Lint-free cleaning cloths
- Thread lock compound (medium strength)
6. Preventive Maintenance Scheduling
Establish a preventive maintenance schedule based on equipment usage and operating conditions:
- Light Duty (≤500 hours/year): Full inspection and service every 6 months
- Medium Duty (500-1500 hours/year): Full inspection and service every 3 months
- Heavy Duty (>1500 hours/year): Full inspection and service every month, with partial disassembly every 3 months
- Extreme Conditions (high temperature/corrosive environments): Increase service frequency by 50%
Always maintain a detailed maintenance log that includes: service date, hours of operation, work performed, parts replaced, test results, and technician name. This log helps identify recurring issues and ensures compliance with CAT warranty requirements.
7. Troubleshooting Advanced Issues
If basic maintenance and repair do not resolve valve performance issues, consider these advanced troubleshooting steps:
- Conduct a fluid analysis to check for contamination, water content, or additive depletion
- Test valve response time using CAT diagnostic tools (e.g., CAT ET - Electronic Technician)
- Inspect valve control electronics (for automated valves) for voltage/current irregularities
- Check for system pressure spikes that may damage valve components
- Verify that the valve is the correct model for the application (incorrect sizing causes performance issues)
- Contact CAT authorized service center for technical support if issues persist