


Jenbacher gas engines are widely recognized for their reliability and efficiency in power generation applications, and the oil pressure sensor is a critical component that ensures optimal engine performance. This sensor monitors the oil pressure levels in real-time, providing essential data to the engine control unit (ECU) to prevent damage from low oil pressure or abnormal pressure fluctuations. Proper maintenance and timely repair of the Jenbacher oil pressure sensor are vital to avoid unplanned downtime, reduce repair costs, and extend the overall lifespan of the engine.
1. Understanding the Role of Jenbacher Oil Pressure Sensors
The oil pressure sensor in Jenbacher engines (including J312, J420, J620, and J920 series) is a piezoelectric or resistive-type transducer that converts hydraulic pressure into an electrical signal. This signal is transmitted to the ECU, which uses it to:
- Trigger warning alarms or shutdowns if oil pressure falls below the minimum safe threshold
- Optimize engine lubrication by adjusting oil pump operation
- Log diagnostic data for predictive maintenance
- Prevent engine seizure due to inadequate lubrication
2. Routine Maintenance Procedures
2.1 Regular Inspection Schedule
To ensure the sensor functions correctly, adhere to the following inspection frequency based on engine operating hours:
| Engine Operating Hours | Inspection Task | Acceptance Criteria |
|---|---|---|
| Every 500 hours | Visual inspection for leaks, corrosion, or physical damage | No oil leaks, clean electrical connectors, no cracks in the sensor housing |
| Every 1000 hours | Electrical connection testing (voltage/resistance check) | Voltage output matches Jenbacher OEM specifications (typically 0-5V or 4-20mA) |
| Every 2000 hours | Calibration verification | Pressure readings within ±2% of calibrated standard |
| Every 4000 hours | Full sensor cleaning and seal replacement | Seals free of wear, sensor port free of sludge/debris |
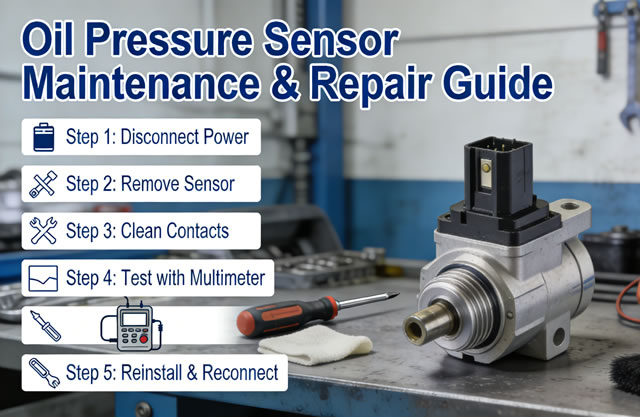
2.2 Step-by-Step Maintenance Process
- Safety First: Shut down the engine, disconnect the battery, and relieve residual oil pressure in the system. Use lockout-tagout (LOTO) procedures to prevent accidental startup.
- Visual Inspection: Check the sensor body for oil leaks, rust, or damage to the wiring harness. Inspect the mounting threads for cross-threading or damage.
- Electrical Connection Check: Disconnect the sensor’s electrical connector, clean it with a contact cleaner, and inspect for corrosion or bent pins. Reconnect firmly to ensure a secure connection.
- Cleaning: Remove the sensor (using a torque wrench to avoid over-tightening), clean the sensor tip and port with a non-abrasive solvent, and remove any sludge or carbon deposits that may block pressure detection.
- Seal Replacement: Replace the O-ring or gasket with a genuine Jenbacher part to ensure a leak-free seal.
- Reinstallation: Torque the sensor to the OEM specification (typically 20-25 Nm) to avoid thread damage or leaks.
- Function Test: Start the engine and verify the oil pressure reading on the ECU or display panel matches the expected range (consult Jenbacher engine manual for specific values).
3. Common Faults and Repair Solutions
3.1 Identifying Fault Symptoms
Common signs of a faulty Jenbacher oil pressure sensor include:
- Erratic or fluctuating oil pressure readings on the display
- Constant low/high oil pressure warning alarms (false triggers)
- Engine shutdown due to "oil pressure fault" codes
- No oil pressure reading (sensor output is 0V/0mA)
- Oil leaks around the sensor mounting point
3.2 Troubleshooting and Repair Steps
- Code Reading: Use a Jenbacher diagnostic tool (e.g., JEMAC or JENFIT) to read fault codes related to the oil pressure sensor (e.g., P0520, P0521, P0522).
- Electrical Testing:
- Measure the supply voltage to the sensor (should be 5V DC for analog sensors, 24V DC for 4-20mA sensors)
- Check the output signal: with engine off, output should be 0V/4mA; with engine running at idle, output should correspond to normal oil pressure (e.g., 2-3V or 8-12mA)
- Test the wiring harness for short circuits or open circuits using a multimeter
- Mechanical Inspection:
- Check for blocked pressure ports (caused by sludge or debris)
- Inspect the sensor diaphragm for damage (a ruptured diaphragm will cause oil to enter the electrical housing)
- Verify the sensor is not contaminated with fuel or coolant (indicates engine internal issues)
- Repair/Replacement:
- If the sensor is contaminated or has a blocked port: clean thoroughly and retest
- If electrical components are faulty (no output, erratic signal): replace the sensor with a genuine Jenbacher unit
- If wiring is damaged: repair or replace the harness and recheck connections
- Post-Repair Verification: Clear fault codes, restart the engine, and monitor the oil pressure reading for 30 minutes to confirm stable and accurate readings.
4. Preventive Measures for Long-Term Reliability
- Use only high-quality engine oil that meets Jenbacher’s OEM specifications (e.g., Jenbacher Oil J-OIL 10W-40) to reduce sludge buildup
- Replace oil filters at the recommended intervals to prevent contaminants from reaching the sensor
- Keep the engine compartment clean to avoid corrosion of the sensor and wiring
- Inspect the oil pressure relief valve regularly (a stuck valve can cause abnormal pressure and sensor damage)
- Train maintenance technicians on proper sensor handling and torquing procedures
5. Safety Considerations for Repair
When working on the oil pressure sensor, always follow these safety guidelines:
- Work only on a cool engine to avoid burns from hot oil or engine surfaces
- Wear personal protective equipment (PPE): safety glasses, gloves, and oil-resistant boots
- Dispose of used oil and contaminated parts in accordance with local environmental regulations
- Never bypass the oil pressure safety interlock – this can lead to catastrophic engine failure
Proactive maintenance and prompt repair of Jenbacher Oil Pressure Sensors are essential to maximize engine uptime and minimize costly repairs. By following the OEM-recommended inspection schedules, using genuine spare parts, and adhering to safe repair practices, you can ensure the sensor operates reliably and provides accurate data to protect your Jenbacher engine. Regular training of maintenance staff and documentation of all sensor inspections/repairs will further enhance the longevity and performance of your Jenbacher power generation system.

