Comprehensive Guidelines for Optimal Performance and Longevity
1. Introduction to Jenbacher Diodes
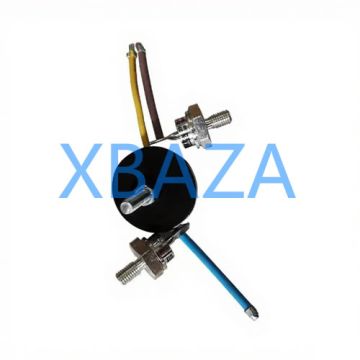
Jenbacher gas engines (series 2, 3, 4, 6) rely on high-performance diodes as critical components in their electrical systems—specifically in rectifier assemblies, voltage regulators, and excitation systems. These diodes convert alternating current (AC) to direct current (DC) to power essential engine functions, and their failure can lead to reduced efficiency, engine misfires, or complete shutdown.
Proper maintenance and timely repair of Jenbacher diodes are essential to ensure uninterrupted operation, minimize downtime, and extend the overall lifespan of the engine system.
2. Pre-Maintenance Safety Procedures
- Isolate the engine from all power sources (main electrical supply, battery backup, and excitation system).
- Lockout/Tagout (LOTO) all energy sources and verify zero voltage with a calibrated multimeter.
- Wear appropriate PPE (Personal Protective Equipment): insulated gloves, safety glasses, flame-resistant clothing, and anti-static wristbands (for static-sensitive diode components).
- Ensure the engine is cool (minimum 30 minutes of cooldown time) to avoid thermal burns.
- Disconnect the diode assembly from the engine’s control unit (ECU) and label all wiring to prevent misconnection during reassembly.
3. Routine Maintenance Checklist
Routine maintenance should be performed every 2,000 operating hours (or as per Jenbacher’s OEM recommendations) to prevent premature diode failure. Below is a structured checklist:
| Maintenance Task | Inspection Criteria | Action Required |
|---|---|---|
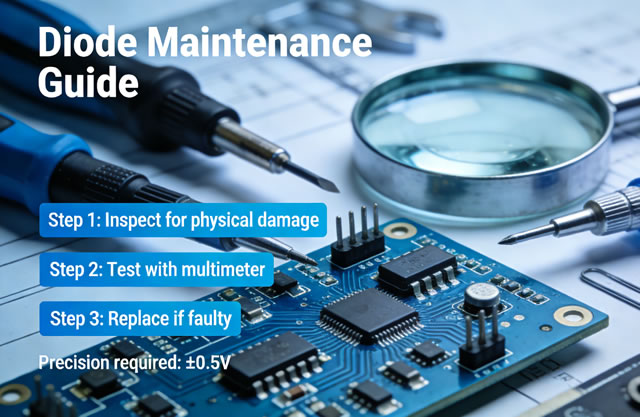
| Visual Inspection | Check for physical damage (cracks, corrosion, bulging, or discoloration), loose connections, or oil/coolant contamination. | Clean contaminated diodes; replace diodes with physical damage. |
| Electrical Testing | Measure forward/reverse voltage drop with a multimeter (standard: 0.6-0.7V forward; infinite resistance reverse). | Replace diodes outside the OEM-specified range. |
| Thermal Check | Use an infrared thermometer to check for abnormal heating (>>60°C during operation). | Inspect heat sinks/fasteners; replace diodes with excessive heat buildup. |
| Connection Tightening | Verify torque on terminal bolts (per Jenbacher specs: 8-10 Nm). | Retorque loose connections; replace stripped bolts/nuts. |
4. Step-by-Step Diode Repair Process
4.1 Removal of Faulty Diode
- After completing safety isolation, locate the diode assembly (typically in the engine’s electrical cabinet or near the alternator).
- Disconnect the wiring harness from the diode terminals (use a label maker to mark each wire for reassembly).
- Remove the mounting bolts/fasteners securing the diode to the heat sink or bracket (use a torque wrench to avoid stripping).
- Carefully extract the diode from its socket (avoid bending the leads or damaging the heat sink).
4.2 Replacement with OEM-Quality Diode
- Clean the heat sink surface with isopropyl alcohol to remove grease/corrosion (ensure no residue remains).
- Apply a thin layer of thermal paste (Jenbacher-recommended: Dow Corning 340) to the base of the new diode to improve heat transfer.
- Insert the new diode into the socket/bracket and secure it with mounting bolts (torque to 8-10 Nm).
- Reconnect the wiring harness to the correct terminals (verify against labels and Jenbacher wiring diagrams).
4.3 Post-Repair Testing
- Perform a continuity test with a multimeter to confirm proper electrical connection (no open/short circuits).
- Conduct a forward/reverse bias test to validate diode functionality (forward voltage: 0.6-0.7V; reverse: no current flow).
- Reconnect power to the engine system (follow LOTO removal procedures) and start a test run.
- Monitor diode temperature (via infrared thermometer) and engine performance for 30 minutes—no abnormal heating or error codes should appear.
5. Common Diode Failure Causes & Troubleshooting
Understanding root causes of diode failure helps prevent recurrence. Below are the most common issues and solutions:
- Overvoltage Spikes: Caused by faulty voltage regulators or lightning strikes. Solution: Install surge protectors (Jenbacher part 728451) and inspect regulators during routine maintenance.
- Thermal Overload: Poor heat sink contact or inadequate cooling. Solution: Replace thermal paste, clean heat sinks, and ensure proper airflow in the electrical cabinet.
- Contamination: Oil/coolant leaks onto diode terminals. Solution: Repair leaks, clean diodes with dielectric cleaner, and install protective covers.
- Mechanical Vibration: Loose mounting bolts cause fatigue failure. Solution: Retorque bolts to OEM specs and use lock washers to prevent loosening.
6. Long-Term Maintenance Best Practices
- Maintain a maintenance log to track diode inspection/repair dates and operating hours.
- Store spare Jenbacher diodes in a dry, anti-static environment (temperature: 15-25°C, humidity <60%).
- Train technicians on Jenbacher-specific diode handling (refer to Jenbacher Service Manual TM 10.102).
- Schedule annual comprehensive testing of the entire rectifier assembly (including diodes, capacitors, and resistors).
- Upgrade to high-temperature diodes (Jenbacher part 897654) for engines operating in extreme temperature environments.
7. Conclusion
Jenbacher diodes are vital to the reliable operation of gas engine systems. By following the maintenance, safety, and repair protocols outlined in this guide, you can minimize unplanned downtime, reduce repair costs, and ensure your Jenbacher engine operates at peak efficiency for its intended service life. Always consult the latest Jenbacher OEM service manual for model-specific updates or revisions to these procedures.