1. Overview of MWM Valve Seat Function & Importance
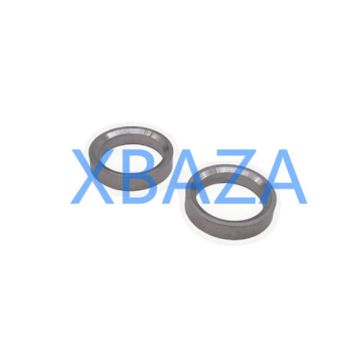
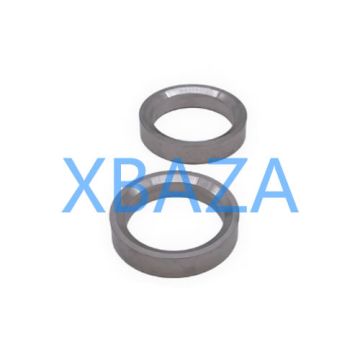
The valve seat is a critical component installed in the cylinder head of MWM engines. It forms a hermetic seal with the engine valve, controls air intake/exhaust, and withstands extreme thermal stress, mechanical impact, and combustion pressure.
Core functions include:
- Creating an airtight seal between intake/exhaust valves and cylinder head
- Conducting heat from valves to the cylinder head cooling system
- Absorbing mechanical shock during valve closing
- Preventing combustion gas leakage and power loss
Worn or damaged valve seats will cause power reduction, abnormal fuel consumption, misfiring, exhaust leakage, overheating, and even catastrophic engine failure.
2. Pre-Maintenance Preparation & Safety Protocols
2.1 Required Tools & Equipment
- Valve seat cutting tools & reamers (OEM-specified dimensions)
- Valve seat grinding paste (fine & coarse grade)
- Torque wrench set, feeler gauges, micrometers, dial indicators
- High-pressure air gun, cleaning solvent, lint-free cloths
- Valve spring compressor, cylinder head repair stand
- Thermal imaging camera (for inspection)
2.2 Safety Requirements
- Disconnect battery and fuel supply lines
- Relieve all coolant and oil pressure
- Mark all components for correct reassembly orientation
- Keep work area clean and organized to avoid contamination
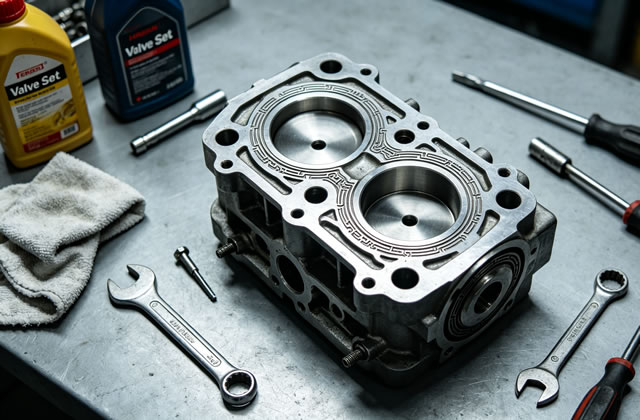
3. Cylinder Head & Valve Seat Disassembly Steps
- Remove the cylinder head assembly from the engine block following MWM OEM torque sequences
- Disassemble valve covers, rocker arms, pushrods, and valve springs
- Extract intake and exhaust valves carefully (avoid scratching guides)
- Clean carbon deposits from valve seats using non-abrasive tools
- Inspect valve seat surface for initial visual defects
3.1 Thorough Cleaning Procedure
Use industrial-grade cleaning solvent to remove carbon, oil, and sludge from valve seats and surrounding areas. Do NOT use metal scrapers that may scratch the sealing surface. High-pressure air is recommended for final drying.
4. Professional Valve Seat Inspection Standards
Perform dimensional and visual inspections to determine repair or replacement requirements.
| Inspection Item | Acceptable Standard | Defect Condition (Repair/Replace Needed) |
|---|---|---|
| Sealing Surface Wear | Smooth, uniform, no pitting | Grooves, burns, pits, uneven contact |
| Seat Width | 1.5mm – 2.5mm (MWM standard) | Less than 1.0mm or over 3.0mm |
| Runout Tolerance | ≤ 0.03mm | > 0.05mm |
| Cracks & Damage | No cracks or chips | Thermal cracks, broken edges, deformation |
| Seat Insert Looseness | Tight fit, no movement | Visible gaps, rotational movement |
4.1 Valve-Seat Contact Pattern Test
Apply a thin layer of marking compound on the valve seat, then lightly press and rotate the valve. A continuous, centered contact ring confirms good sealing. Broken or offset contact requires reconditioning.
5. Valve Seat Repair & Reconditioning Procedures
5.1 Light Repair (Minor Wear)
- Apply fine-grind lapping compound to valve seat
- Use lapping tool to rotate valve in figure-8 motion
- Lap until a uniform matte finish appears
- Clean all lapping paste completely with solvent
- Verify contact pattern and sealing
5.2 Heavy Repair (Severe Wear/Pitting)
Use precision valve seat cutters to refinish the sealing surface. Maintain correct angles (typically 45° for sealing, 30°/60° for top/bottom chamfers) per MWM engine specifications.
- First cut: Remove damaged material (rough cut)
- Second cut: Finish to correct seat width and angle
- Final lapping: Achieve perfect sealing surface
- Re-measure all dimensions after cutting
5.3 Valve Seat Replacement (Severe Damage)
- Use hydraulic press to remove old seat insert
- Clean insert bore thoroughly
- Heat new insert to -40°C (cryogenic treatment) for shrink fit
- Heat cylinder head bore to 120–150°C
- Press insert quickly and evenly; allow natural cooling
6. Reassembly & Torque Specifications
Follow MWM OEM torque values and sequences during reassembly:
- Valve spring assembly: Compress evenly, avoid distortion
- Rocker arm shaft torque: 45–50 N·m (check model-specific data)
- Cylinder head bolts: Tighten in 3–4 progressive steps
- Valve lash adjustment: Cold engine setting (0.25mm intake / 0.30mm exhaust typical)
After reassembly, perform dry valve rotation test to ensure smooth movement without binding.
7. Post-Maintenance Testing & Verification
7.1 Leakage Test
Use compressed air (6–8 bar) to test valve seat sealing. No leakage allowed. Use soapy water to check for bubbles.
7.2 Engine Start-Up & Performance Check
- Start engine and idle for 15–20 minutes
- Check for abnormal noise, exhaust smoke, or overheating
- Verify exhaust gas temperature consistency
- Test engine power output and responsiveness
8. Preventive Maintenance Schedule for MWM Valve Seats
- Minor inspection: Every 500 operating hours
- Comprehensive inspection: Every 2000 operating hours
- Full reconditioning: Every 8000–12000 operating hours
- Immediate inspection if: power loss, misfiring, exhaust leakage, or high fuel consumption occurs
9. Common Failures & Troubleshooting
- Valve seat burning: Caused by poor sealing, overheating, or incorrect fuel injection – Replace or re-cut seat
- Seat insert falling out: Improper fit or overheating – Full replacement required
- Uneven seat wear: Misaligned valve or bent valve guide – Repair guide and recondition seat
- Compression loss: Worn seat or broken contact pattern – Full lapping or recutting
10. Final Recommendations
Valve seat maintenance is one of the most critical procedures for MWM engine reliability. Always use genuine MWM replacement parts and follow OEM service manuals. Improper repair will lead to accelerated wear, reduced engine life, and costly downtime.
For high-load gas engines (natural gas, biogas), increase inspection frequency due to higher thermal loads on valve seats.