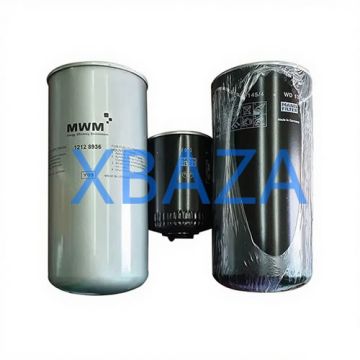
MWM engines are globally recognized as high-performance, heavy-duty powerhouses used in industrial generators, marine applications, construction machinery, agricultural equipment, and stationary power systems. As one of the most critical components in any MWM engine, the oil filter directly impacts engine longevity, operational reliability, fuel efficiency, and overall performance. A properly maintained MWM oil filter prevents abrasive contaminants, metal particles, sludge, and carbon deposits from circulating through engine bearings, pistons, crankshafts, and camshafts—avoiding premature wear, costly breakdowns, and permanent engine damage.
This complete long-form guide covers every aspect of MWM oil filter care: core functions, inspection procedures, service intervals, cleaning protocols, replacement steps, troubleshooting, and long-term maintenance strategies to maximize your MWM engine’s service life.
1. Understanding the Critical Role of MWM Oil Filters
Unlike standard automotive filters, MWM oil filters are engineered to withstand extreme operating conditions—high temperatures, heavy loads, continuous operation, and industrial-grade contamination. Their primary functions include:
- Removing microscopic metal shavings, dirt, dust, and soot from engine lubricating oil
- Preventing sludge and varnish buildup that clogs oil passages and reduces lubrication
- Maintaining consistent oil pressure for optimal engine performance
- Extending the life of critical engine components: bearings, rings, valves, and cylinders
- Supporting compliance with MWM factory performance and warranty standards
Key Fact: A clogged or failed MWM oil filter can trigger bypass valve operation, allowing unfiltered oil to circulate and cause irreversible engine wear within hours.
2. Recommended MWM Oil Filter Service & Replacement Intervals
MWM provides official service guidelines based on engine model, application type, operating environment, and oil quality. Below are industry-standard intervals for both standard and severe-duty conditions:
Standard Operating Conditions
- Visual Inspection: Every 250 operating hours or 30 days (whichever comes first)
- Full Service & Cleaning: Every 500 operating hours
- Complete Replacement: Every 1,000 operating hours or 6 months
Severe-Duty Operating Conditions
For engines operating in dusty, dirty, high-temperature, high-humidity, or continuous-use environments:
- Visual Inspection: Every 125 operating hours
- Full Service & Cleaning: Every 250 operating hours
- Complete Replacement: Every 500 operating hours or 3 months
Important Note: Always reference your official MWM engine service manual for model-specific intervals. Deviating from factory recommendations may void your warranty.
3. Step-by-Step MWM Oil Filter Inspection Process
Regular inspection is the foundation of reliable MWM oil filter maintenance. Perform these checks safely with the engine OFF, cooled down, and depressurized:
- Shut down the engine, engage safety locks, and allow all components to cool for at least 30 minutes
- Locate the oil filter housing and clean the exterior surface to avoid dirt entry during inspection
- Check for oil leaks, cracks, dents, corrosion, or loose fittings on the filter housing and mounting base
- Inspect the bypass valve, pressure sensor, and sealing gaskets for damage or deterioration
- Check oil pressure gauge readings—low pressure often indicates a clogged or failed filter
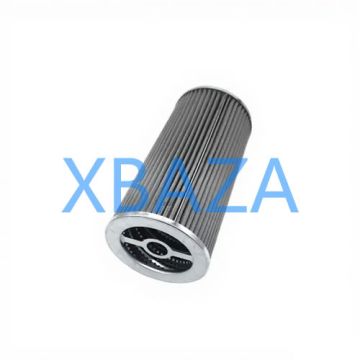
- Open the filter housing carefully and examine the filter element for contamination, saturation, or collapse
- Document all findings and schedule service or replacement if defects are found
4. Professional MWM Oil Filter Service & Cleaning Procedure
For reusable MWM oil filter elements, professional cleaning restores performance and extends service life. Follow this factory-approved process:
- Drain residual oil from the filter housing completely using the drain plug
- Remove the filter element gently to avoid breaking or distorting the media
- Clean the housing interior with a lint-free cloth and low-pressure compressed air
- Wash reusable filter elements with low-viscosity solvent or MWM-recommended cleaning fluid
- Use low-pressure compressed air (max 30 PSI) to blow contaminants from the inside out
- Allow the element to air-dry fully—never use heat or high-pressure air
- Inspect the cleaned element for tears, thinning, or permanent clogging
- Replace all gaskets and O-rings before reassembly
- Prime the filter with clean engine oil before installation to prevent dry startup
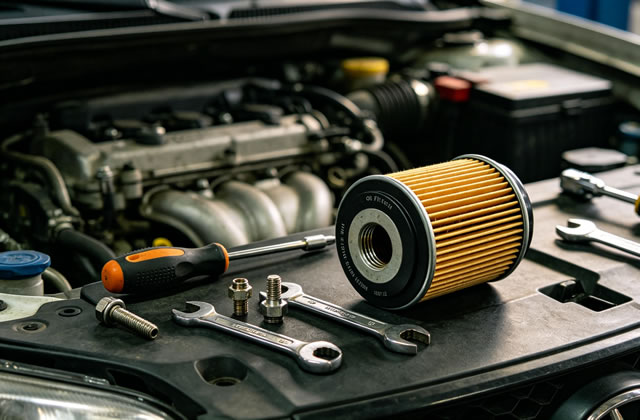
5. Complete MWM Oil Filter Replacement Guide
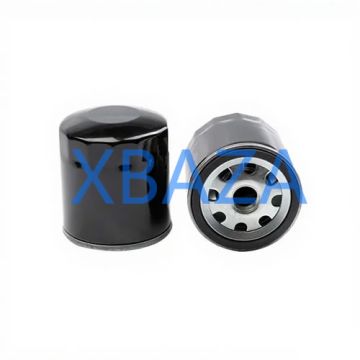
When cleaning is no longer effective, replace the filter element with genuine MWM or OEM-equivalent parts. Using low-quality filters voids engine protection.
Replacement Steps
- Prepare tools: filter wrench, drain pan, clean rags, new MWM filter element, and new gaskets
- Shut off the engine and relieve all internal oil pressure
- Place a drain pan under the filter housing to catch spilled oil
- Loosen the housing cap slowly to release pressure
- Remove the old filter element and discard it safely
- Clean the housing seat thoroughly to remove old gasket material
- Lubricate the new gasket with fresh engine oil for a tight seal
- Install the new MWM filter element correctly—align flow direction and seating
- Tighten the housing cap to MWM-specified torque (do not over-tighten)
- Check for leaks after starting the engine and running at idle speed
6. Common MWM Oil Filter Problems & Troubleshooting
Even with regular maintenance, issues may arise. Below are the most frequent problems and solutions:
Low Oil Pressure
Cause: Clogged filter, collapsed element, or faulty bypass valve
Solution: Replace filter element immediately; inspect bypass valve function
Oil Leaks Around Filter Housing
Cause: Damaged gasket, cross-threaded housing, or cracked base
Solution: Replace gasket, re-seat housing, or replace damaged components
Contaminated Oil
Cause: Filter bypass, torn media, or incorrect installation
Solution: Replace filter, flush oil system, and install genuine MWM parts
Premature Filter Clogging
Cause: Dirty oil, excessive engine wear, or harsh environment
Solution: Shorten service intervals, change oil, and inspect engine internal wear
7. Long-Term Maintenance Tips for Maximum MWM Engine Life
To ensure decades of reliable service from your MWM engine, follow these advanced maintenance best practices:
- Always use genuine MWM oil filters or certified OEM equivalents
- Pair filter changes with full oil changes using MWM-approved lubricants
- Store spare filters in a clean, dry, temperature-controlled environment
- Maintain detailed service records for warranty and resale value
- Train operators to recognize early warning signs: low pressure, leaks, or unusual noise
- Perform annual full-system oil flushes to remove deep-seated sludge
- Schedule professional MWM engine service at least once per year
Final Conclusion
The MWM oil filter is not just a routine replacement part—it is the lifeblood of your engine’s protection system. Proper, consistent maintenance, inspection, and timely replacement directly reduce downtime, lower repair costs, improve fuel efficiency, and extend the operational life of your MWM engine by years.
By following the guidelines in this comprehensive service guide, you ensure that your MWM engine operates at peak performance, complies with manufacturer standards, and remains reliable in even the most demanding industrial environments. Never compromise on filter quality or service intervals—your engine’s longevity depends on it.
For model-specific instructions, always consult your official MWM engine service manual or contact an authorized MWM service technician.